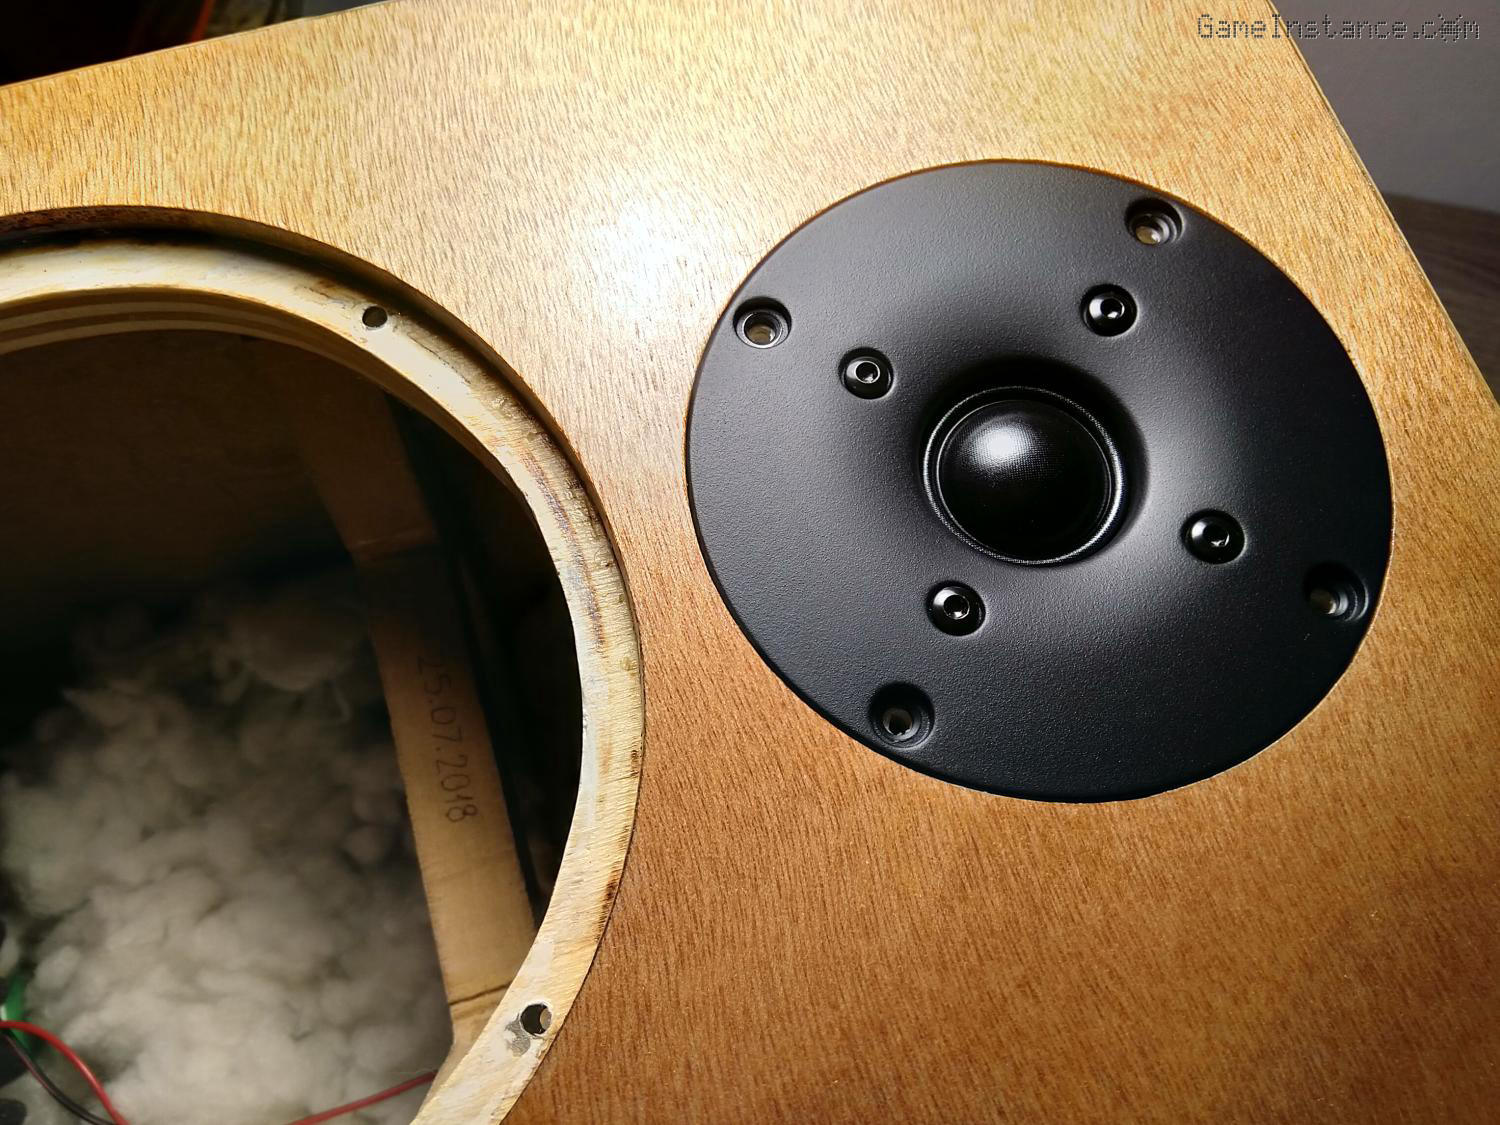
Since day one, my handcrafted Classix II speakers suffered from a poor lows rendition which I tried to address in every possible way, but the most obvious. In my effort to lay out coils on top of the crossover board to reduce cross-talk, I messed-up a connection on the bottom, hooking the Dayton speaker to the wrong pin of the 100uF capacitor and effectively feeding it through an attenuated band-pass filter. Epic f-up? Yeah, but that's not the end of it. In years that followed, I misinterpreted the telltale blaming it on the under-powered SU-Z65 for entering protection mode in occasional loud listening sessions. It wasn't until a binding-post screw came loose and I had to remove the speakers that I noticed it.
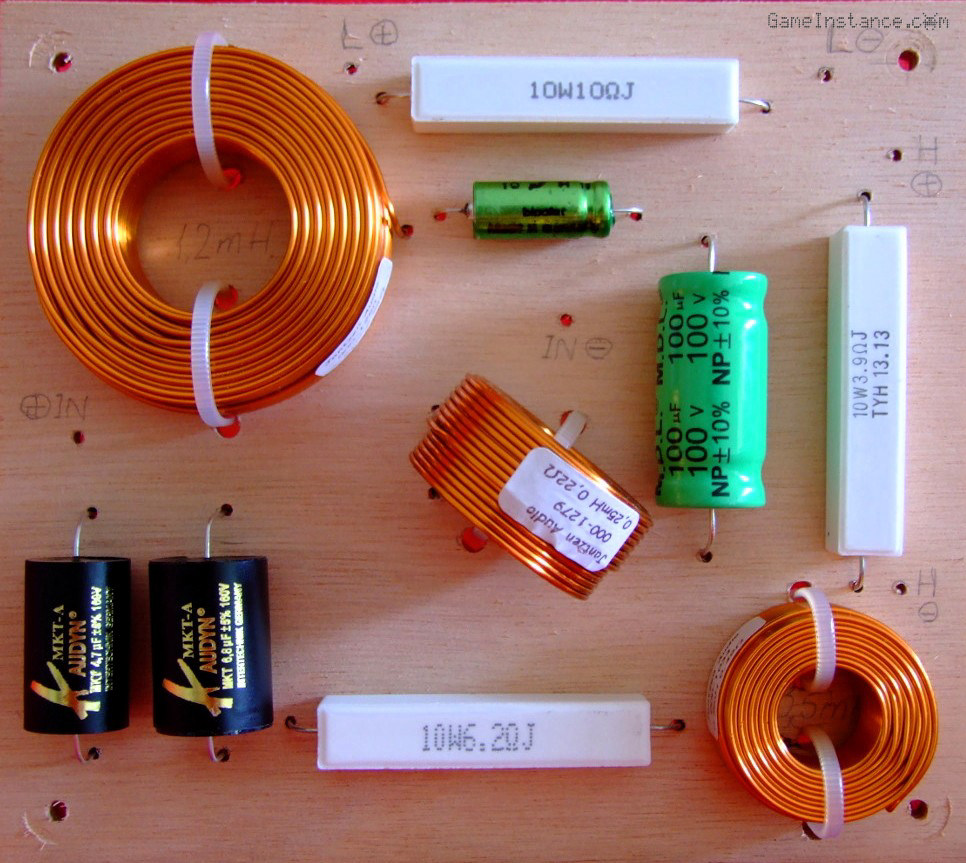 Classix II - ideally oriented inductors but erroneously connected
With that problem quickly solved, I finally got the "filling" bass the Paul Carmody mentioned, at the cost of some voice definition. True, the 40s, 50s and 60s swing and rock tracks are far more tolerable but I'm missing-out Dana Gillespie's warm voice already. Removing some of the wool carpeting from the inner side walls added decibels where they were needed, plus a joyful color and some more bass - to my neighbors nuisance. I can now confirm they are what Paul and others said them to be
...and I absolutely enjoy them.
Finishing choice
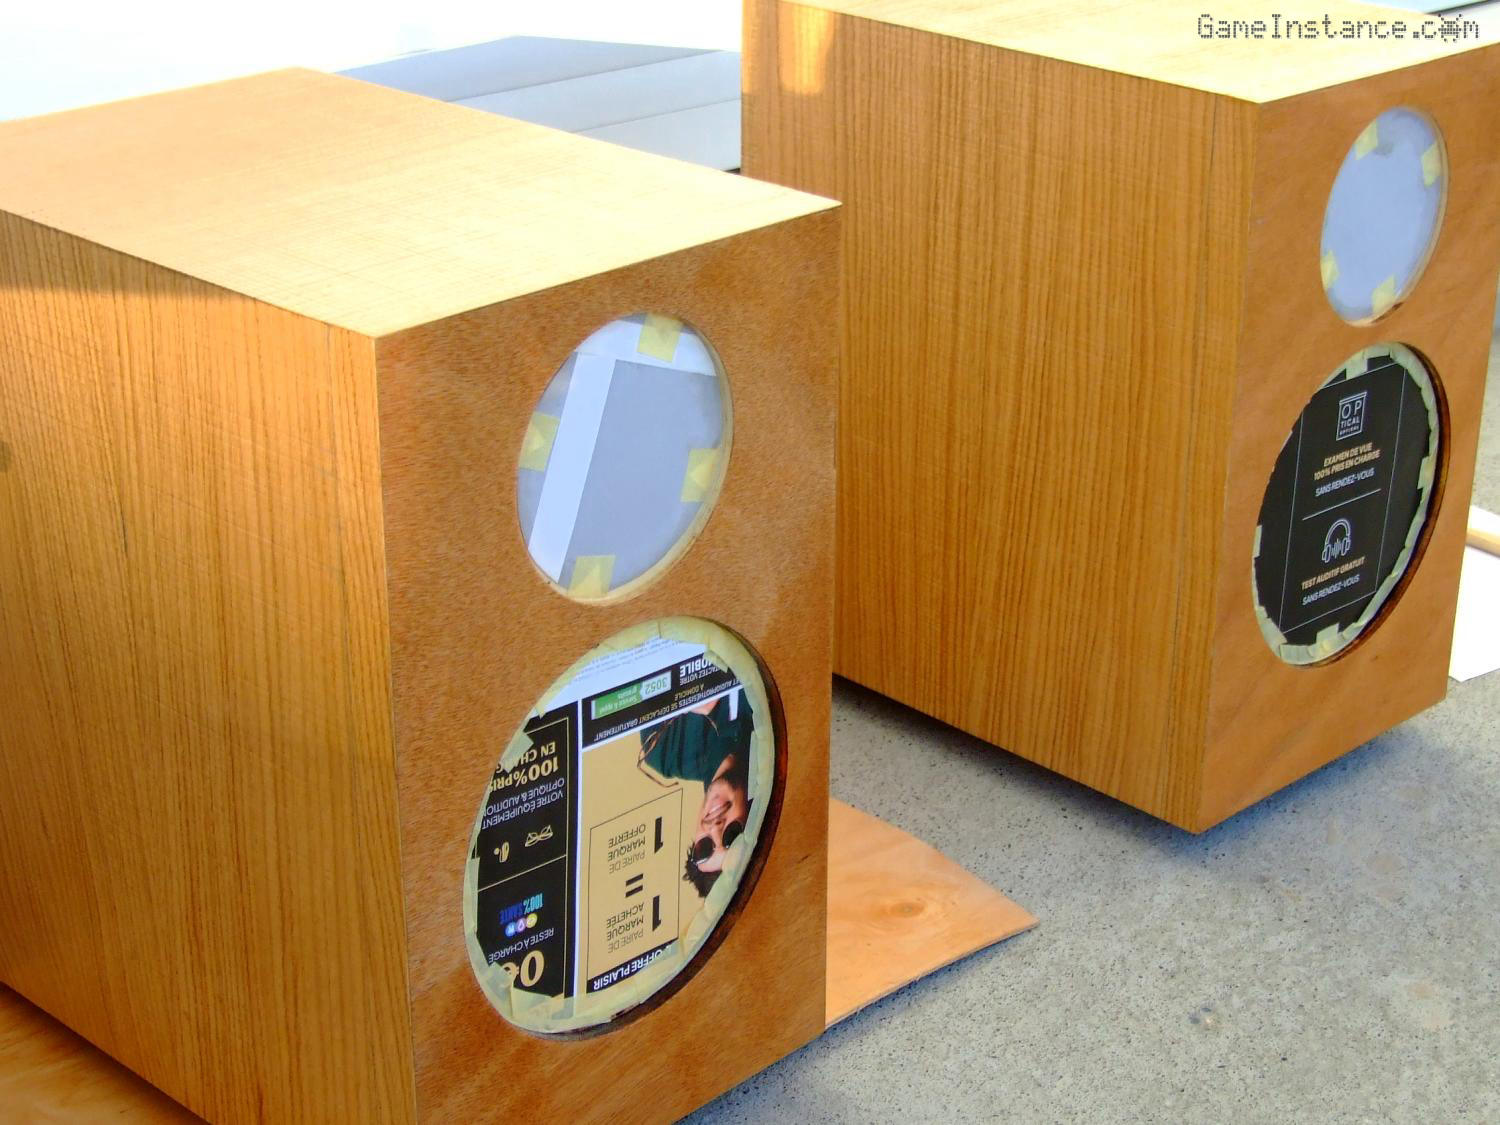
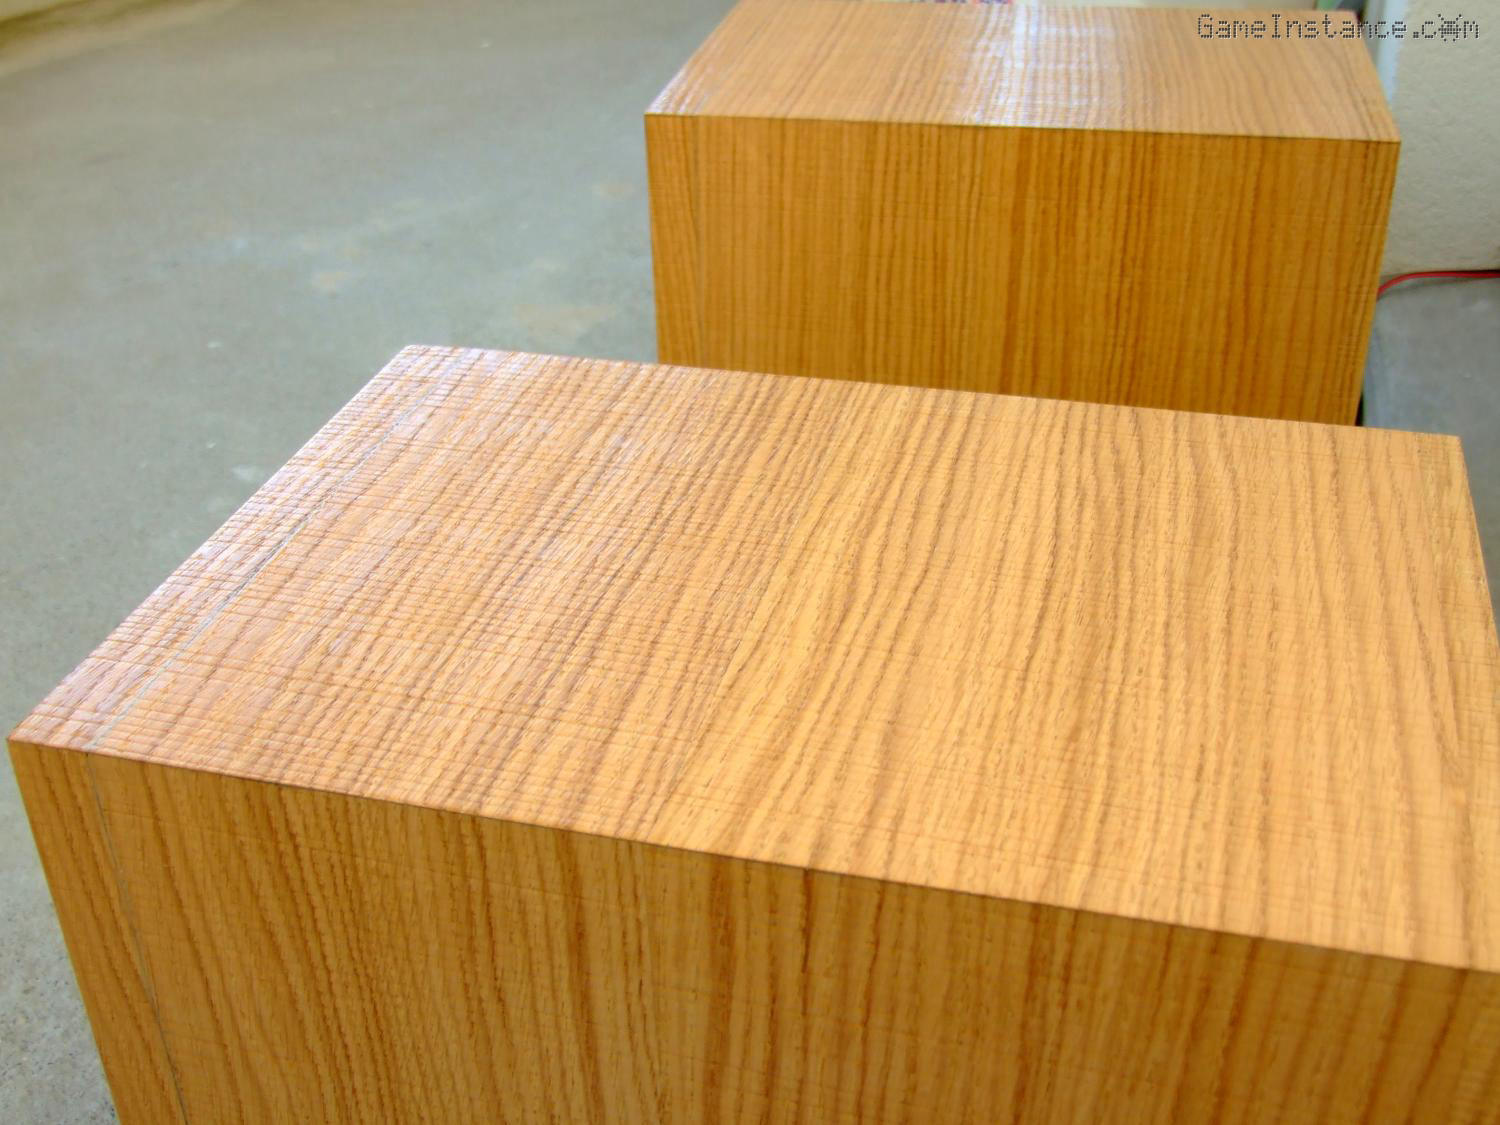
With this perfectly balanced pair of speakers, I turned my attention to their long postponed external finishing. My first choice was more refined: a red Louro Faia veneer for the sides with a dark stained and varnished-to-gloss baffles. They would have looked great at a slightly more expensive bill but then I remembered Paul's "fancy restaurant dish vs. burrito" story. So, I downgraded to oak with a saw-effect fiber not just for the spicy looks but also to create a textural distinction between baffle and side walls. I may have just nailed it.
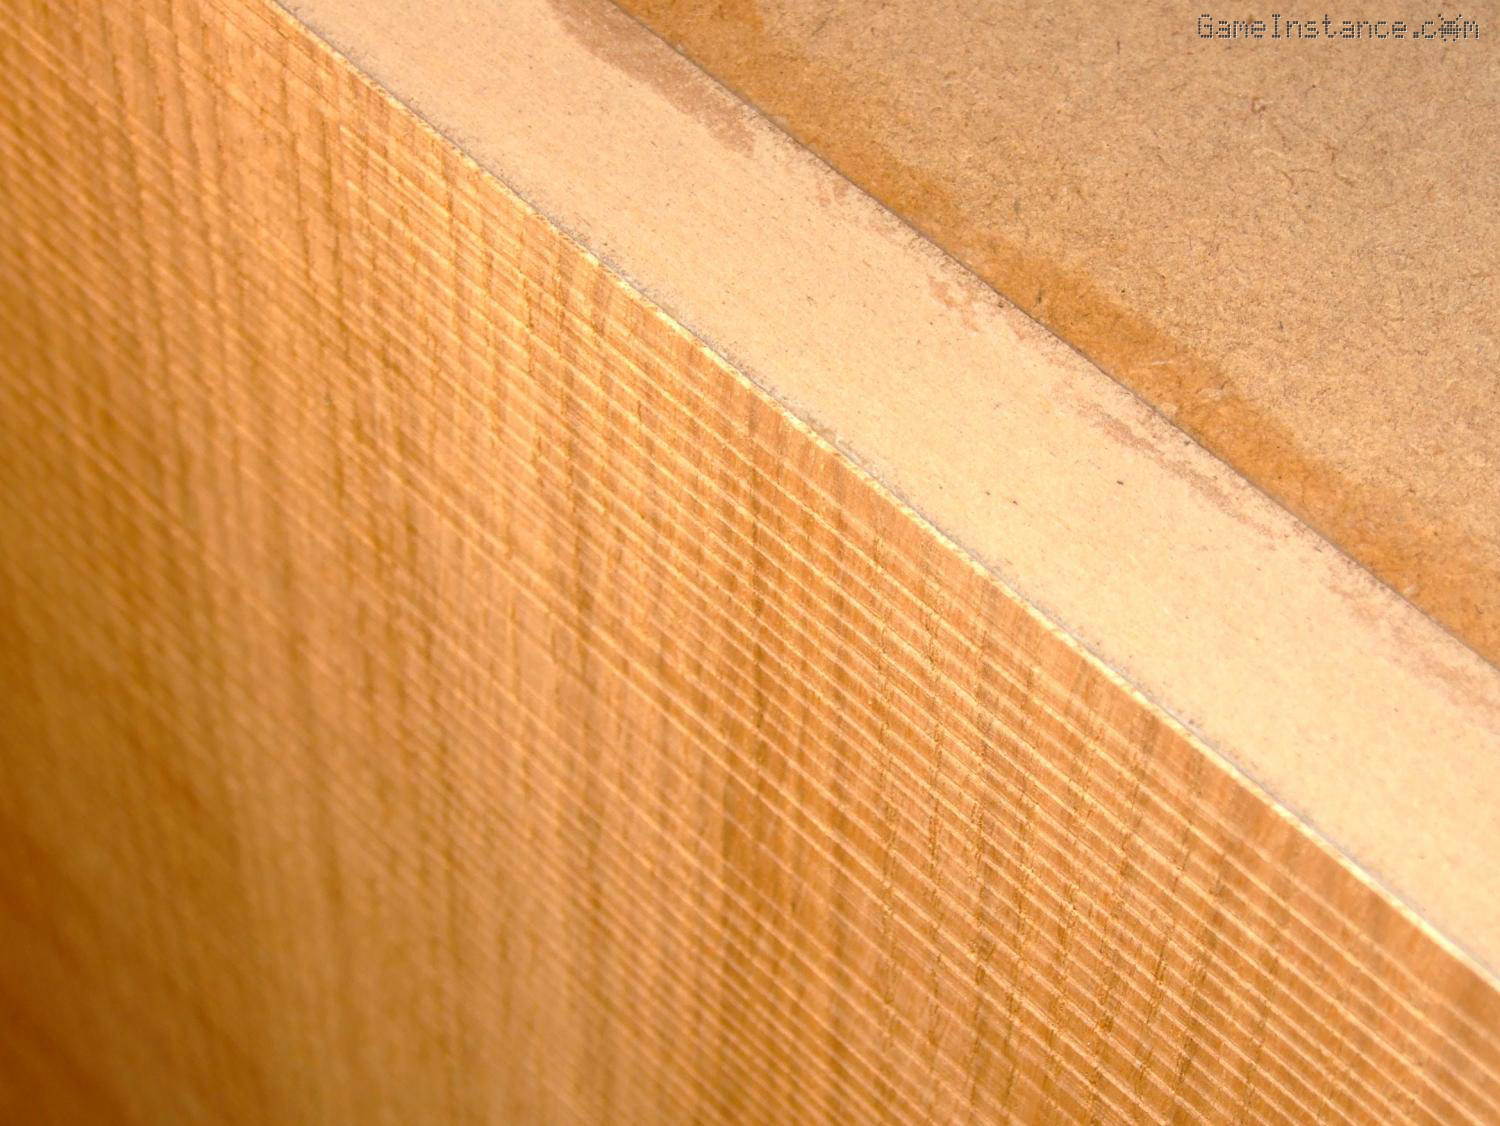 Classix II - saw-effect oak fiber finish
Then followed the careful process of measuring and cutting veneer with room for error for each visible face. This was my first such experience and so I followed the manufacturer's advice. However, I found annoying the fact that the veneer sheet was actually made of 3 narrower sheets glued together on the same textile support, with a rather visible joining line. That was not as advertised, but one must make do.
Veneering the side-walls
Some edges towards the back of enclosures had a visible lip since their initial construction. That was a consequence of manual filing to bring panels into perpendicularity, after a poor cutting precision at the depot. I had to fill and sand out those edge and that added to the manual labor.
 Classix II - corrections towards the back of enclosure
After proper sanding and dusting, the application of the wood glue (a Gorilla equivalent) on both matching surfaces proved a bit tricky as it required a steady, yet firm hand. The first attempt was a bit of a failure and needed a redo later-on but the once the procedure was improved, applications went smooth.
 Classix II - glue application
Things were a bit more tricky on the veneer sheet as not only it was flexing during the application but it also warping from the glue humidity. The secret was a quick glue distribution or holding the sheet in place with weights.
 glue application on veneer sheet's back
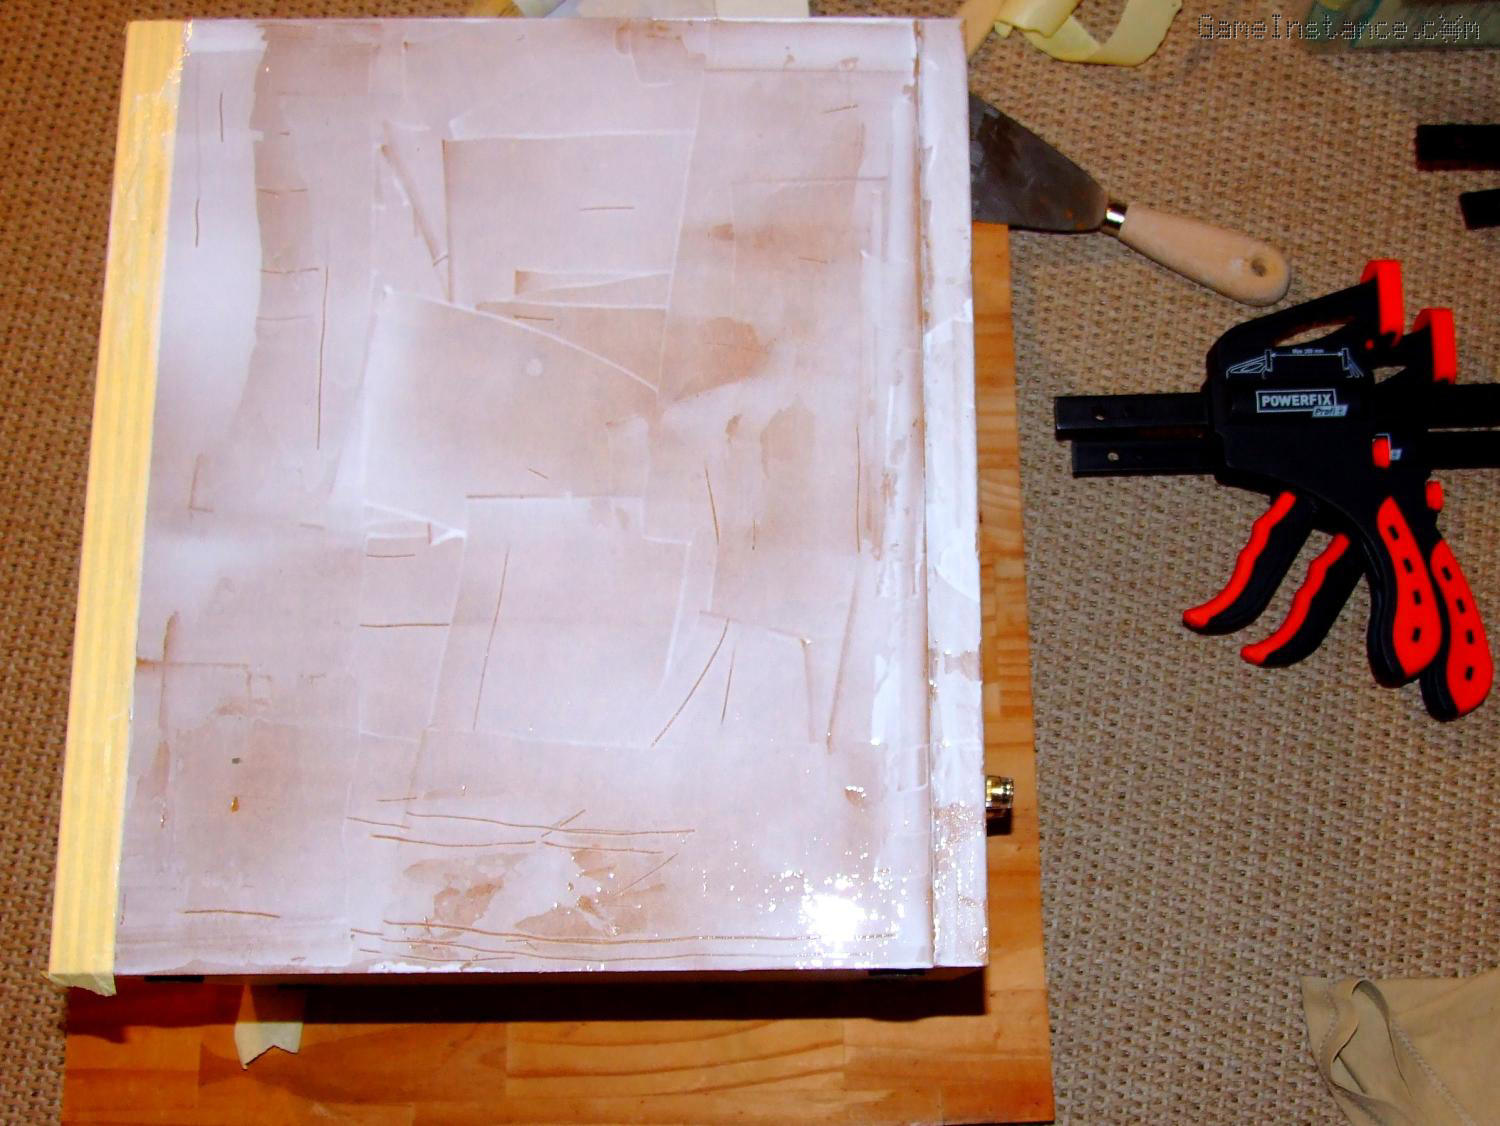
The glue had a generous drying time which allowed adjusting the sheet once put in contact with the MDF. However, it is necessary to apply uniform pressure until it dries. Good clamping tools are recommended.
 Classix II - clamping the veneer on the side of the enclosure
Glue tends to discolor the wood surfaces so one should avoid over-spilling it onto the finished ones. Masking tape is best for this job but it doesn't do wonders, so it's best using just enough glue to make surfaces stick but not seep-out when squeezed.
 Classix II - the tricky addition on the plywood edge
The veneer sheet's width matched spot-on the depth of the boxes, minus the baffle thickness. That left me with the painstaking task of cutting 3 cm wide bands best matching the pattern, texture and edge of the already applied nearby sheets. Once a compromise was found, the best way to insure perfect alignment was to use again masking tape all along the junction line.
 Classix II - all clamping force in action for the edge veneer
However, given the irregular surface of this particular veneer, glue overflowed under clamping pressure onto nearby applied sheets, beneath the masking tape, exactly what I tried avoiding. The glue in question turns transparent once dried but will become visible under varnish, and then it is too late. I thus had to scrape off any excess ...from every groove.
Once glue dried and the veneer is firmly in place, removing the excess overhanging the edges can be done with a cutter or scissors and then by gradually sanding it down to follow the edge line. That's a nerve wracking process because the veneer sheet can bend and break if too much pressure is exerted while sanding. To distribute the sanding pressure evenly, one could use a sanding block and lots of patience.
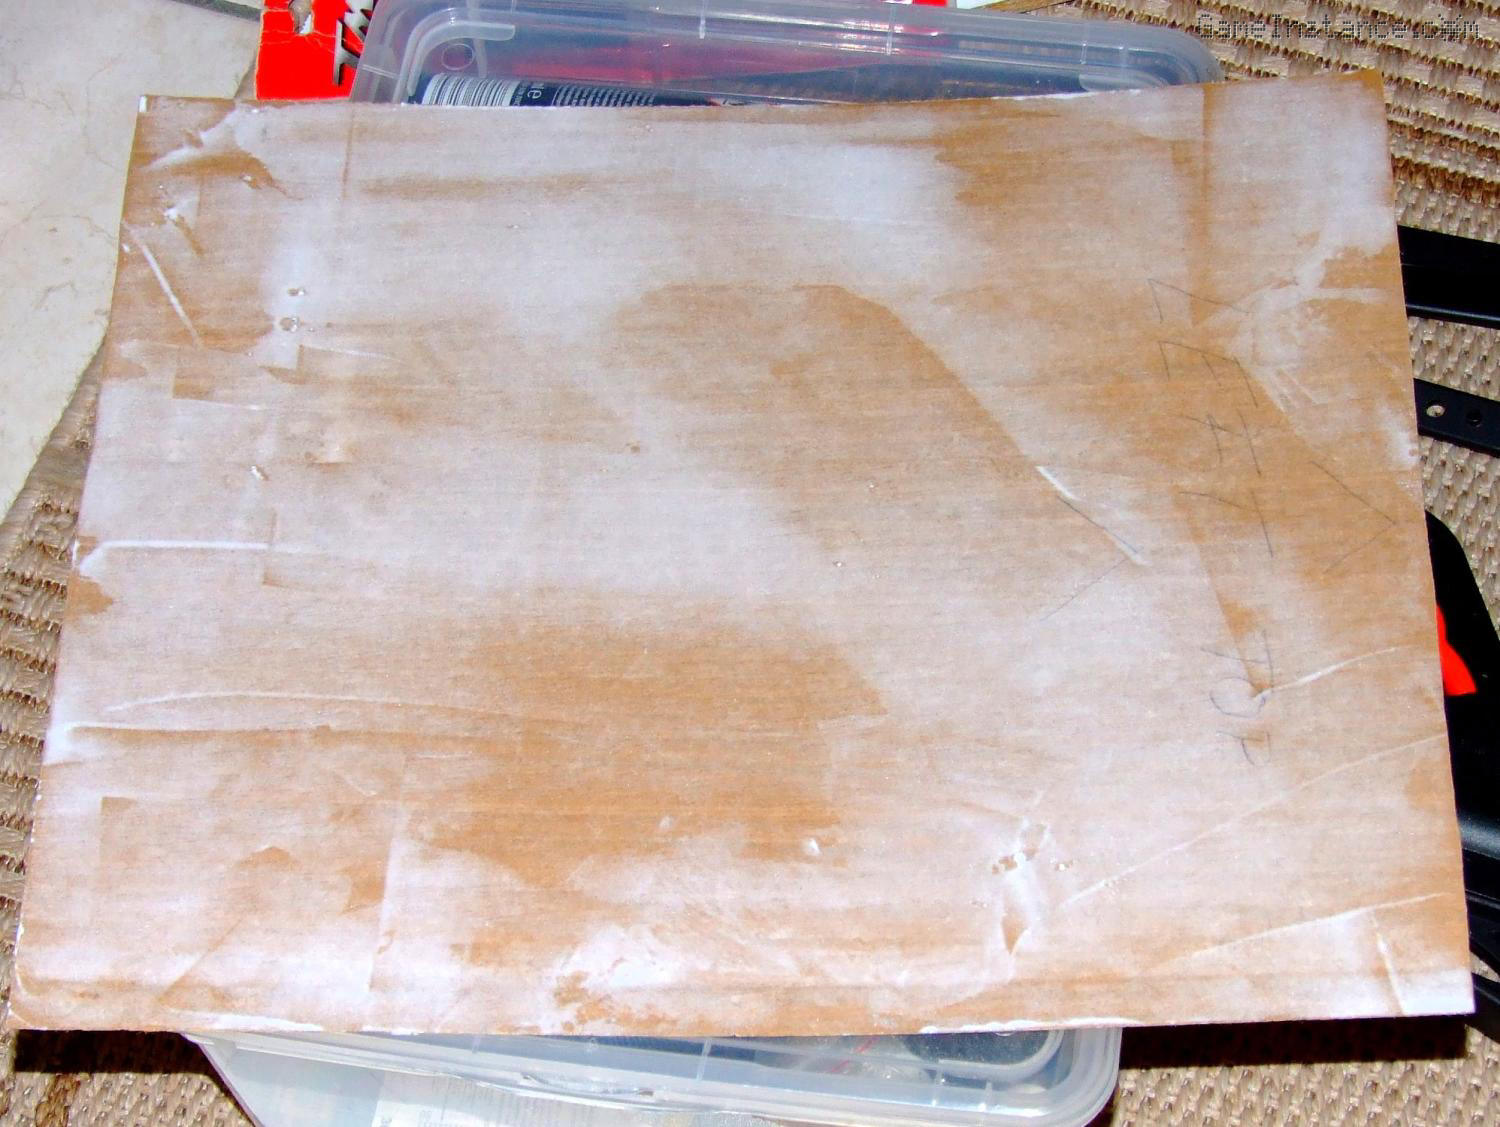
 Classix II - a preview of the veneered speakers
The result was not bad at all. I liked the way they looked so much so that I was considering leaving them as they were, knowing that varnish will enhance wood grain contrast. That was not an option, though, as both the veneer and the baffle plywood needed protection and there was only a narrow temporal interval in which I was able to do everything.
Varnishing
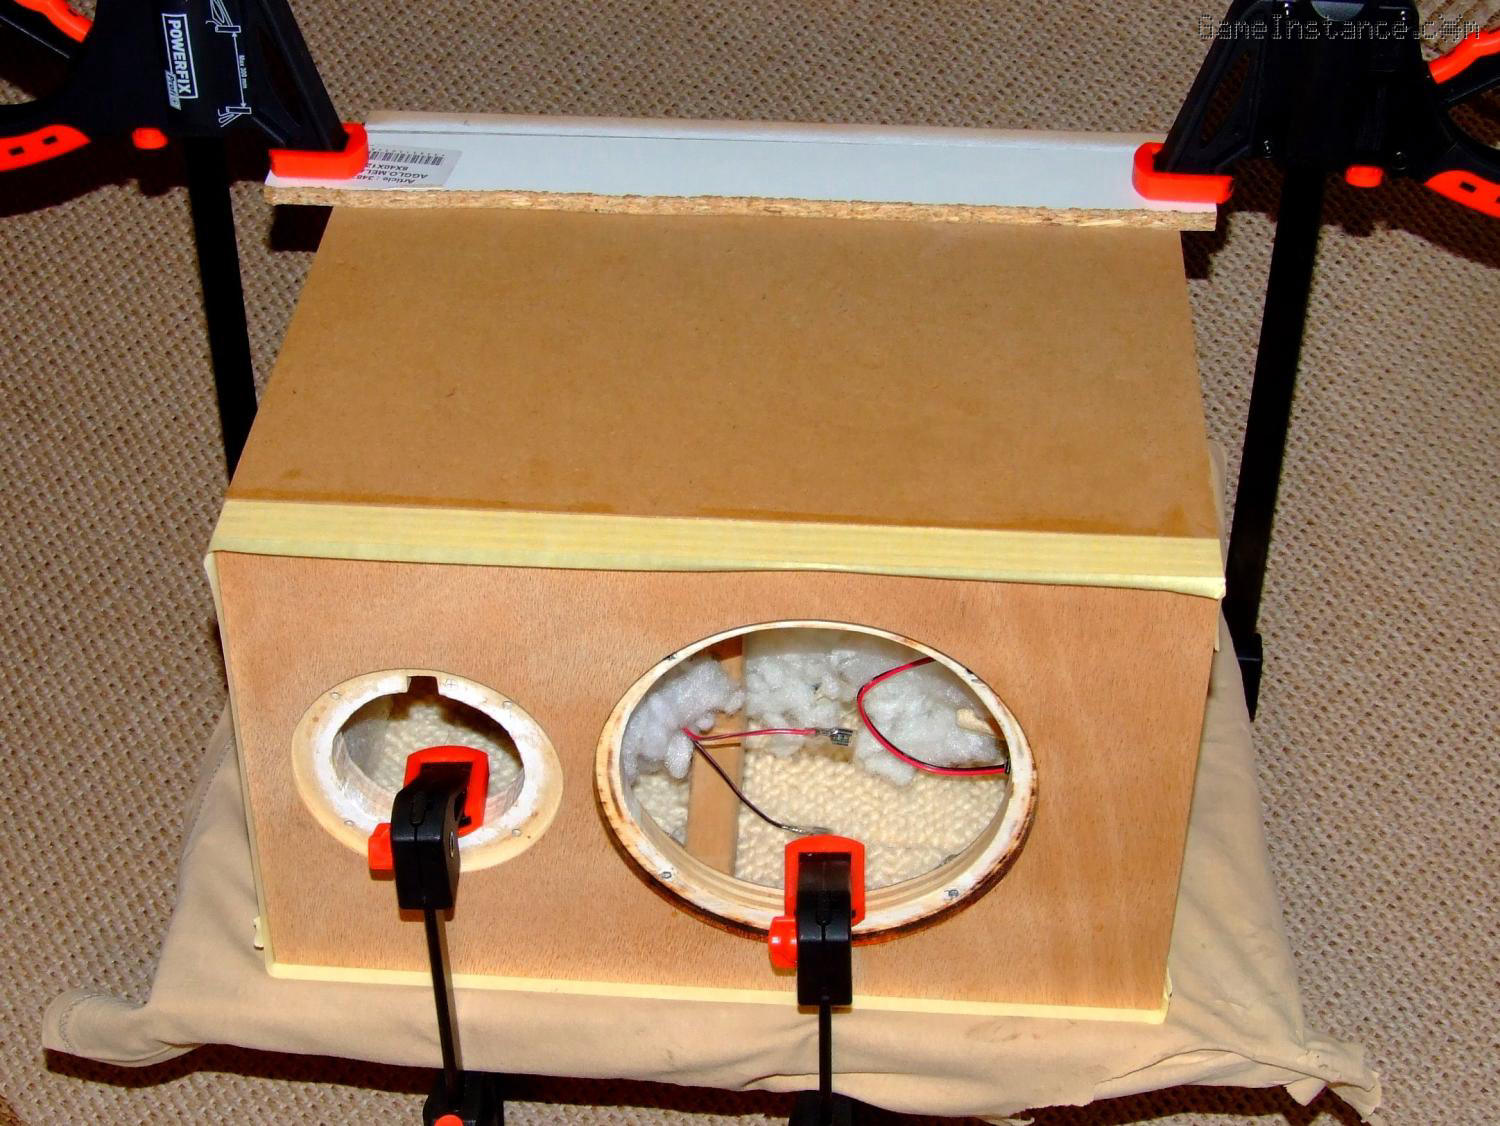
This was another process that required lots of prepping and planning. I had to mask the speaker holes, sand every surface with increasing grains, brush-off any dust and apply the varnish solution leaving always one dry surface, for support. I could have suspended them by wire from the inner bracing but I lacked the open-air space to do so. Remember that lacquers need aerated spaces for a number of days. The speaker holes were already stabilized with wood filler and varnish back when I made them so that I would not have to play with that already smooth contact surface.
 Classix II - the dreadfully slow varnish drying process
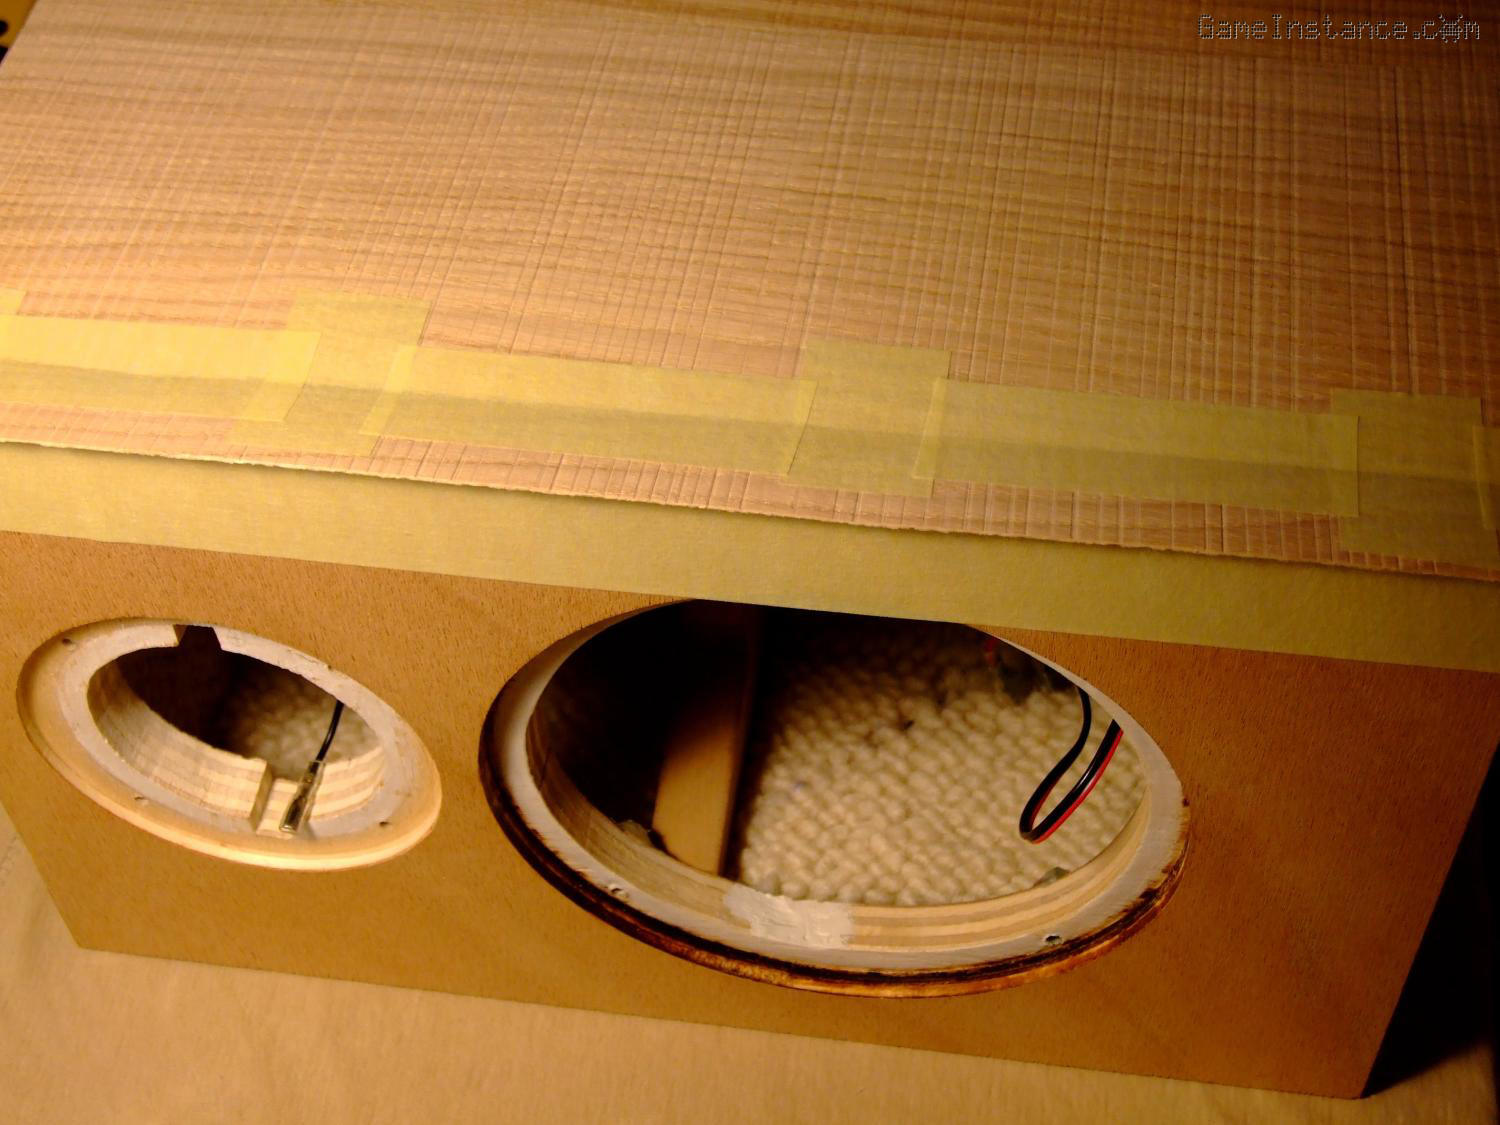
One's biggest enemy while varnishing is dust, insects and particles that come loose from the brush. As varnish drying times measures in halves of days, there's more than enough time for crappy flies to get stuck on the latest and most carefully applied layer.
 Classix II - varnish application and the lessons learned the hard way
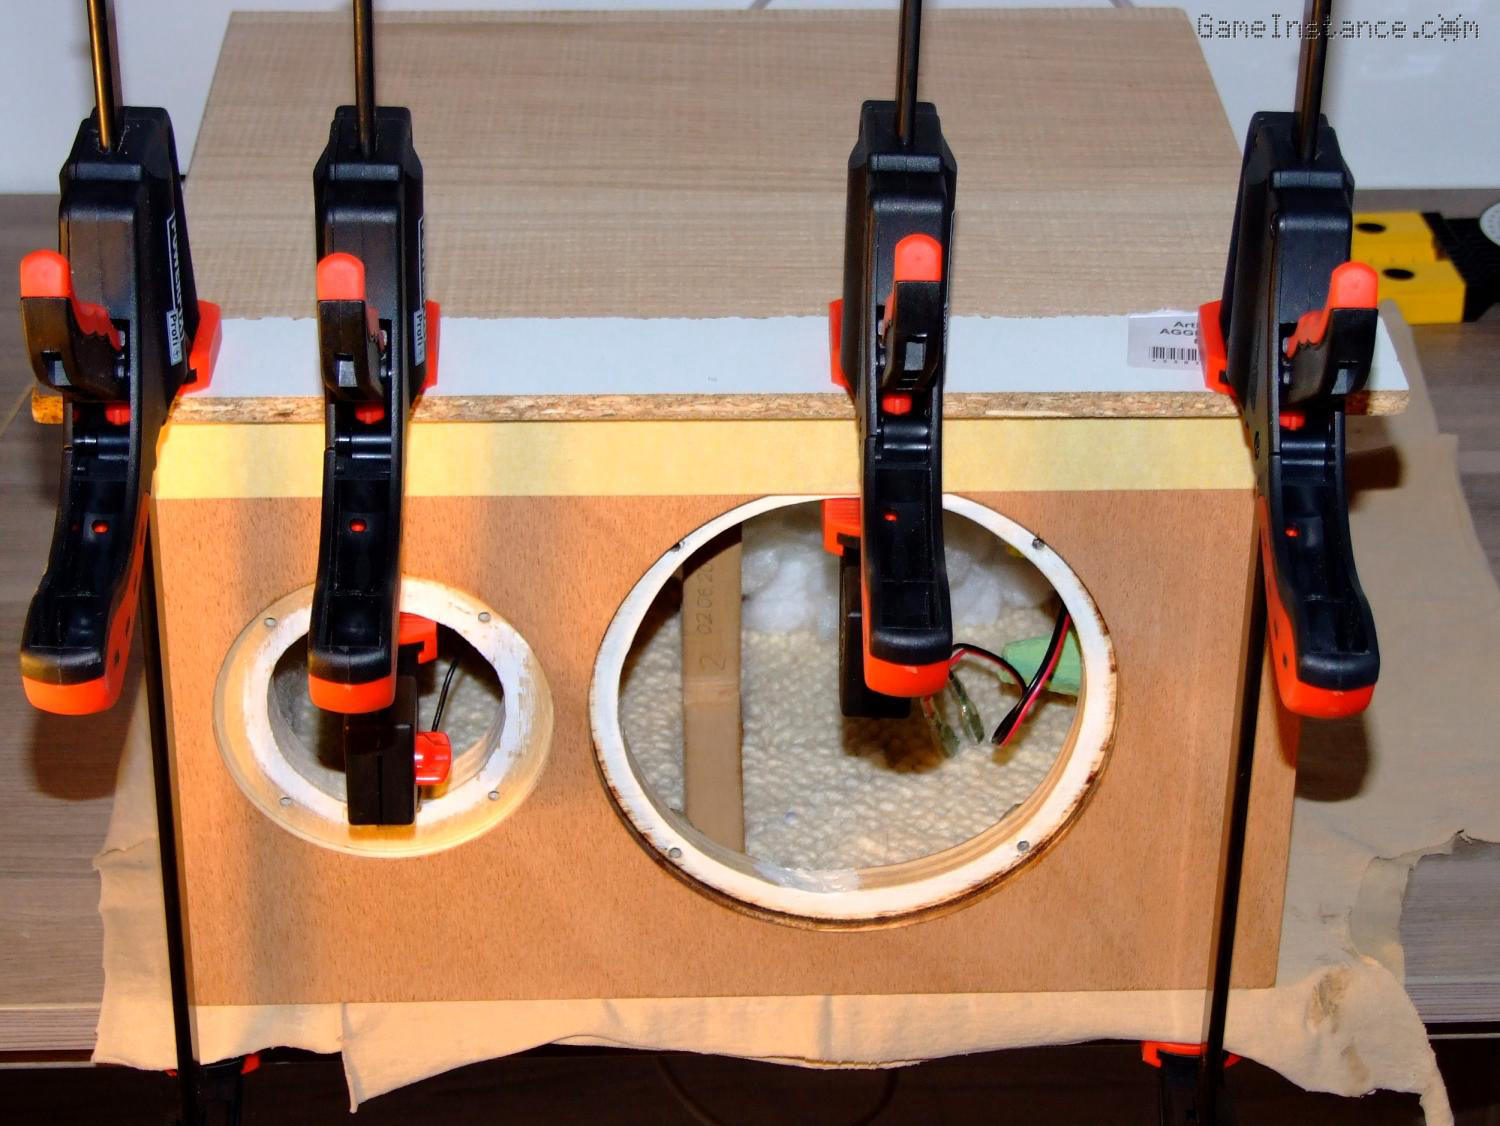
Word of advice: don't stop in the middle of the first coat application just to take a photo, as much as you'd be tempted to do so. Also, make sure you apply an even layer on that first hand. You'd thank me later. With no one to give me that advice, I made a 2 minutes pause midway to immortalize the nice contrasting wood colors appearing below the covered areas. Well, that region maintained a stronger taint that the rest ...and that was one of the baffles. Call me names, blame it on my OCD, but I still see the difference now after 2 days since last coat. Others don't notice it so I reassure myself with that.
 Classix II - baffle finishing... the Karate Kid style
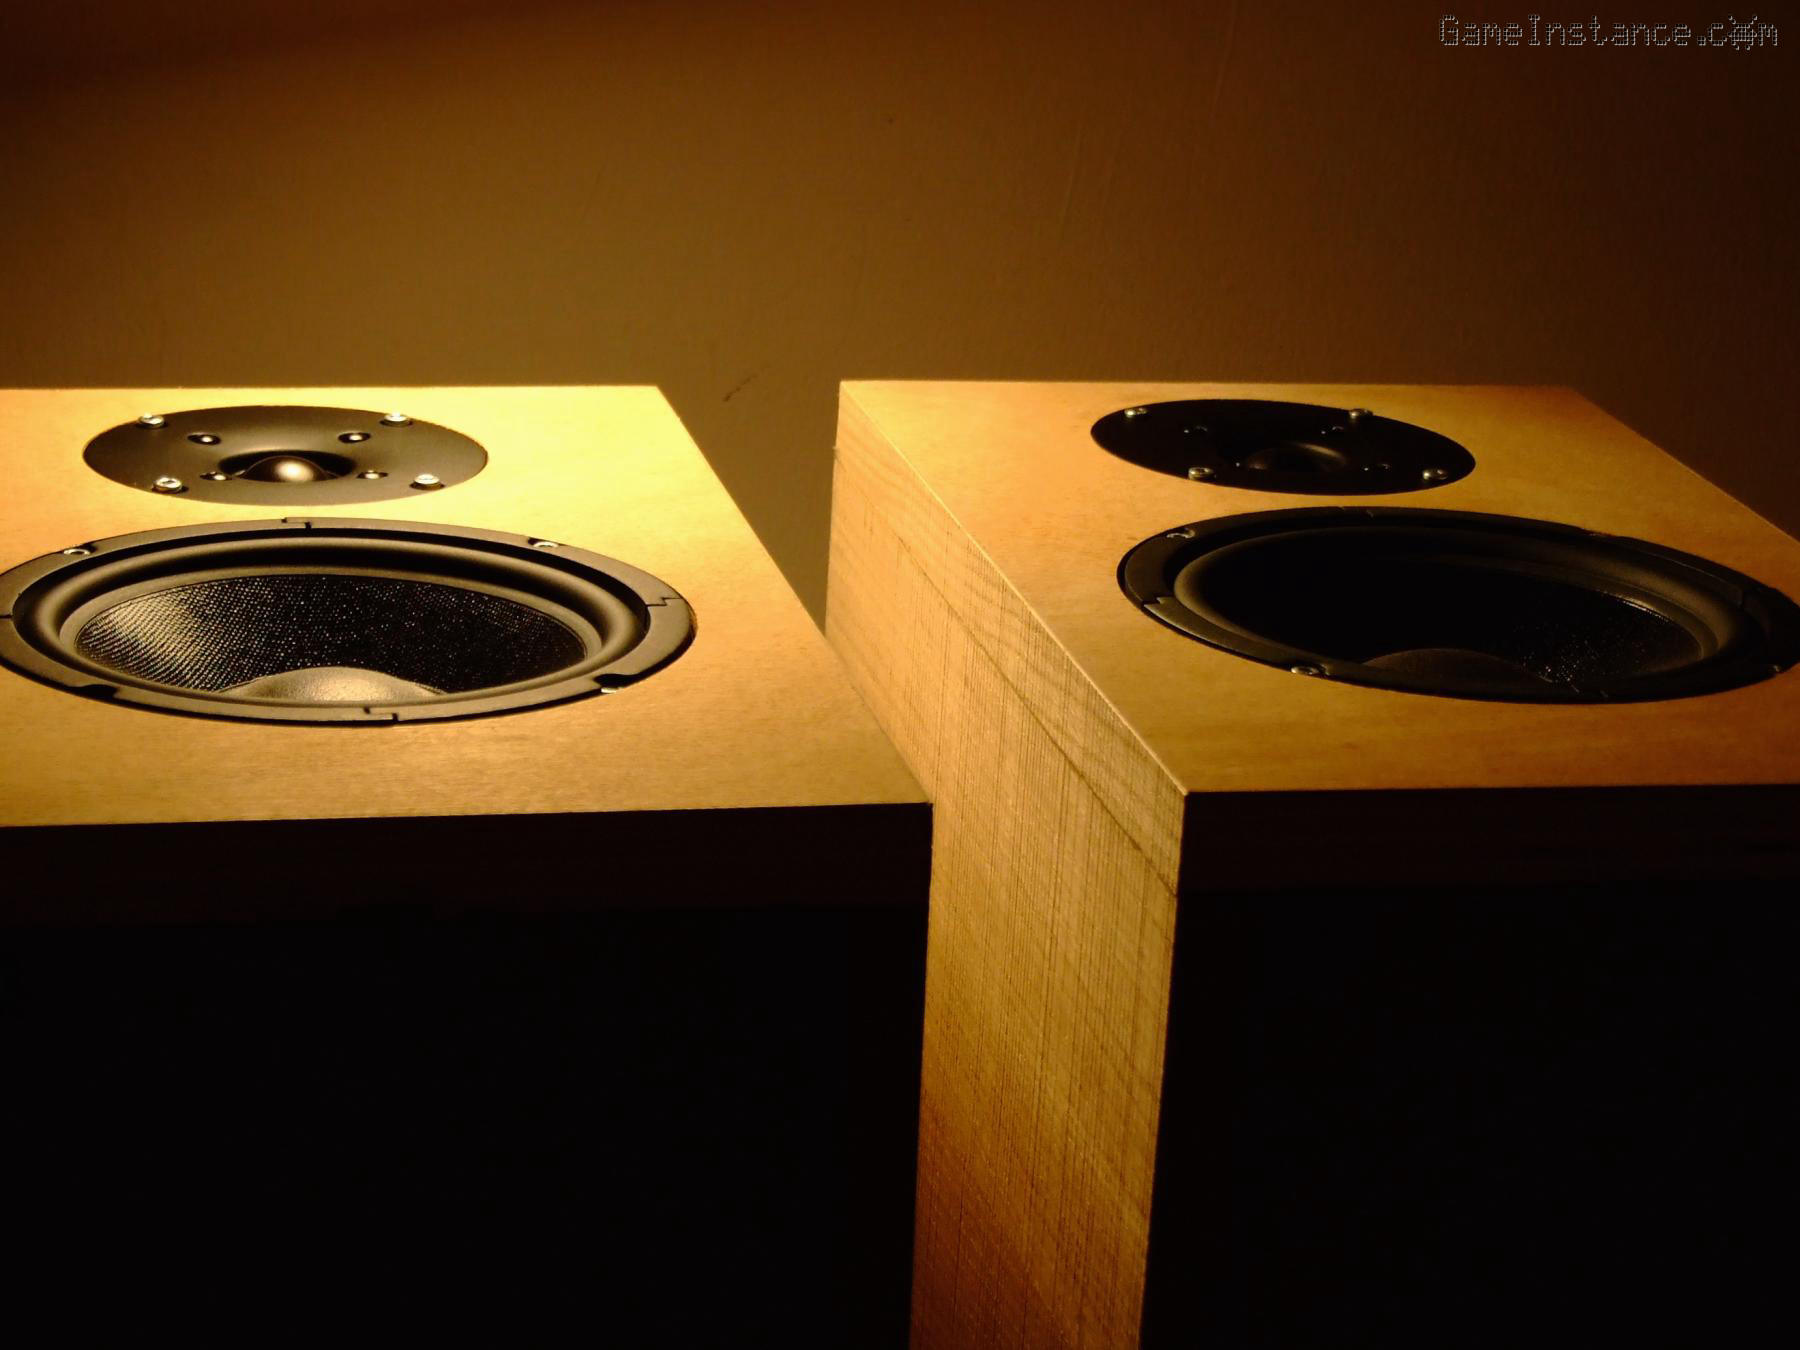
Lots of sanding was made in between layers and especially after the last. The final step was a light touch of water-dipped 400-grit sand-paper followed by a rigorous rubbing with a cloth to remove any traces from the still soft clearcoat.
 Classix II - preview of the finished product, speakers still fit after the layered varnish application
As one last finishing touch, I though I'd make a back-plate label that would be something in the feel of the era this set of speaker aims to revive, featuring the basic electro-acoustic specs, stamped lightly crooked by a skillful, yet in a hurry assembly technician and containing the quality insurance issued serial number that any factory would.
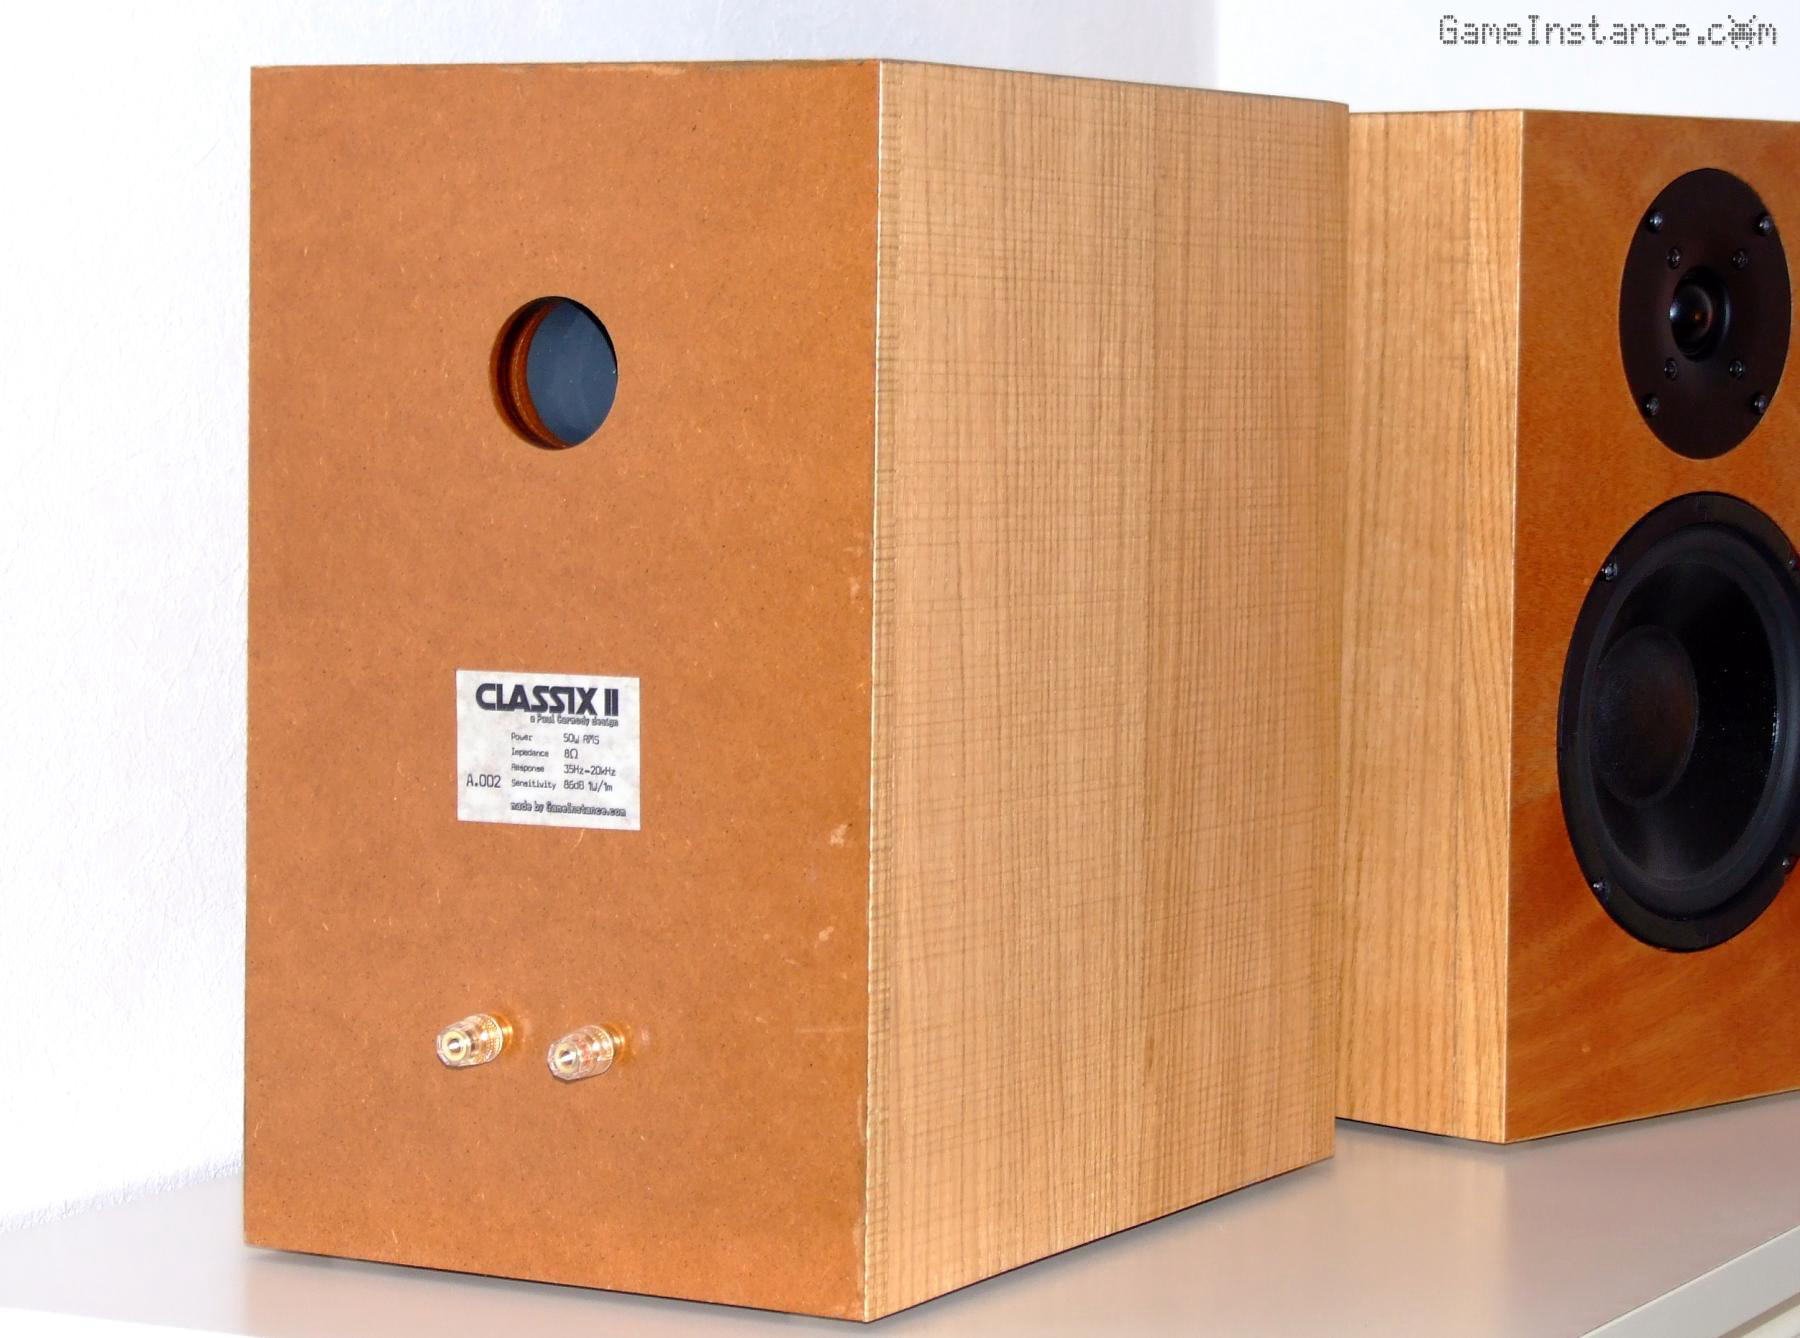 Classix II - the speaker label, yet another under-appreciated, over-engineered design
Rants & grunts
The build quality of any item is a product of the attention to details at each step and here's where I messed-up, nearly every single one of them. Some of the errors could not have been avoided given my limited woodworking experience while others could have been anticipated.
I would have gone for the rounded baffle edges to minimize secondary sources superimposing the direct wave, affecting certain bands. That just didn't sit well with the desired looks so I kept them straight. I will surely address that externally at some point.
Also, the veneer could have been single sheet, paint brushes could have been better, insects could have not existed, day would've had more than 24 hours, etc. None of that really matters.
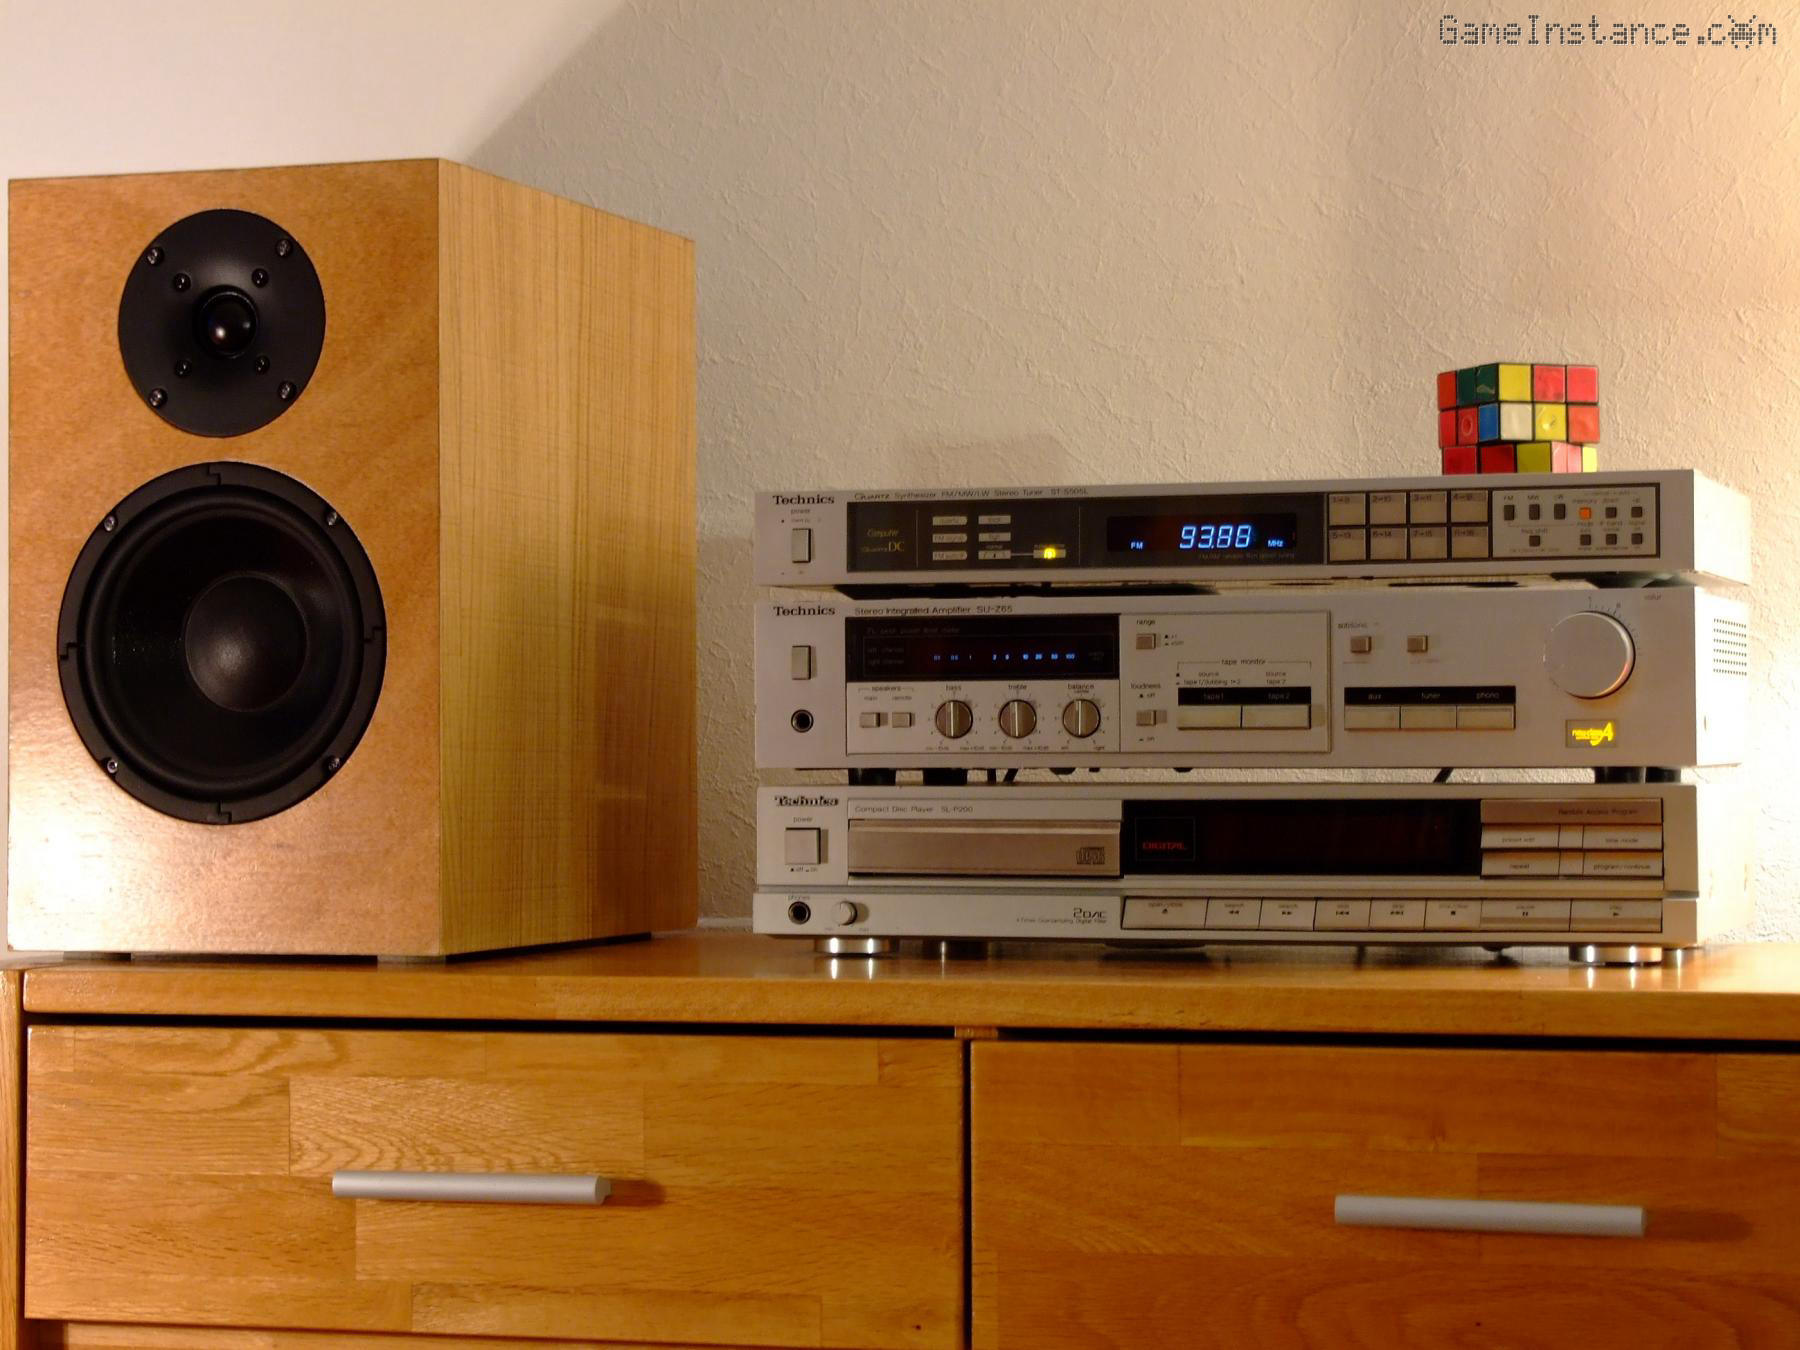 Classix II speakers next to my vintage Technics stack
I really like how this pair of Classix II turned out and, finally, they seem worthy of the place they take in my living room. Yes, they're quite bulky. Would I try extending the limited edition by making more? Most likely not because the work involved would surpass the challenges of building the very first set.