After the resounding success of my Classix II speakers implementation, I was left wondering how life would be with a better amp. I rarely indulge these cravings and when I do, usually around winter holidays, I go all the way. I'm not a tube fan, for my own reasons, and yet I wanted that purity in solid-state clothing, ideally another Technics. And so the research began.
I have to admit, said research started few weeks back and from the roughly forty candidates, I settled to a subset from the early 90s. I would've liked an SE-A3/5/50 but they're rare/expensive and technically not so different from other less fancy models. My eyes fell on an SU-VX920 in seemingly good condition, auctioned as non-functional. I knew this would be a challenge but it was love at first sight. Having set the budget at something slightly higher any repairer-reseller would've, I went all in.
Several days later, the new old amplifier was in my living-room.
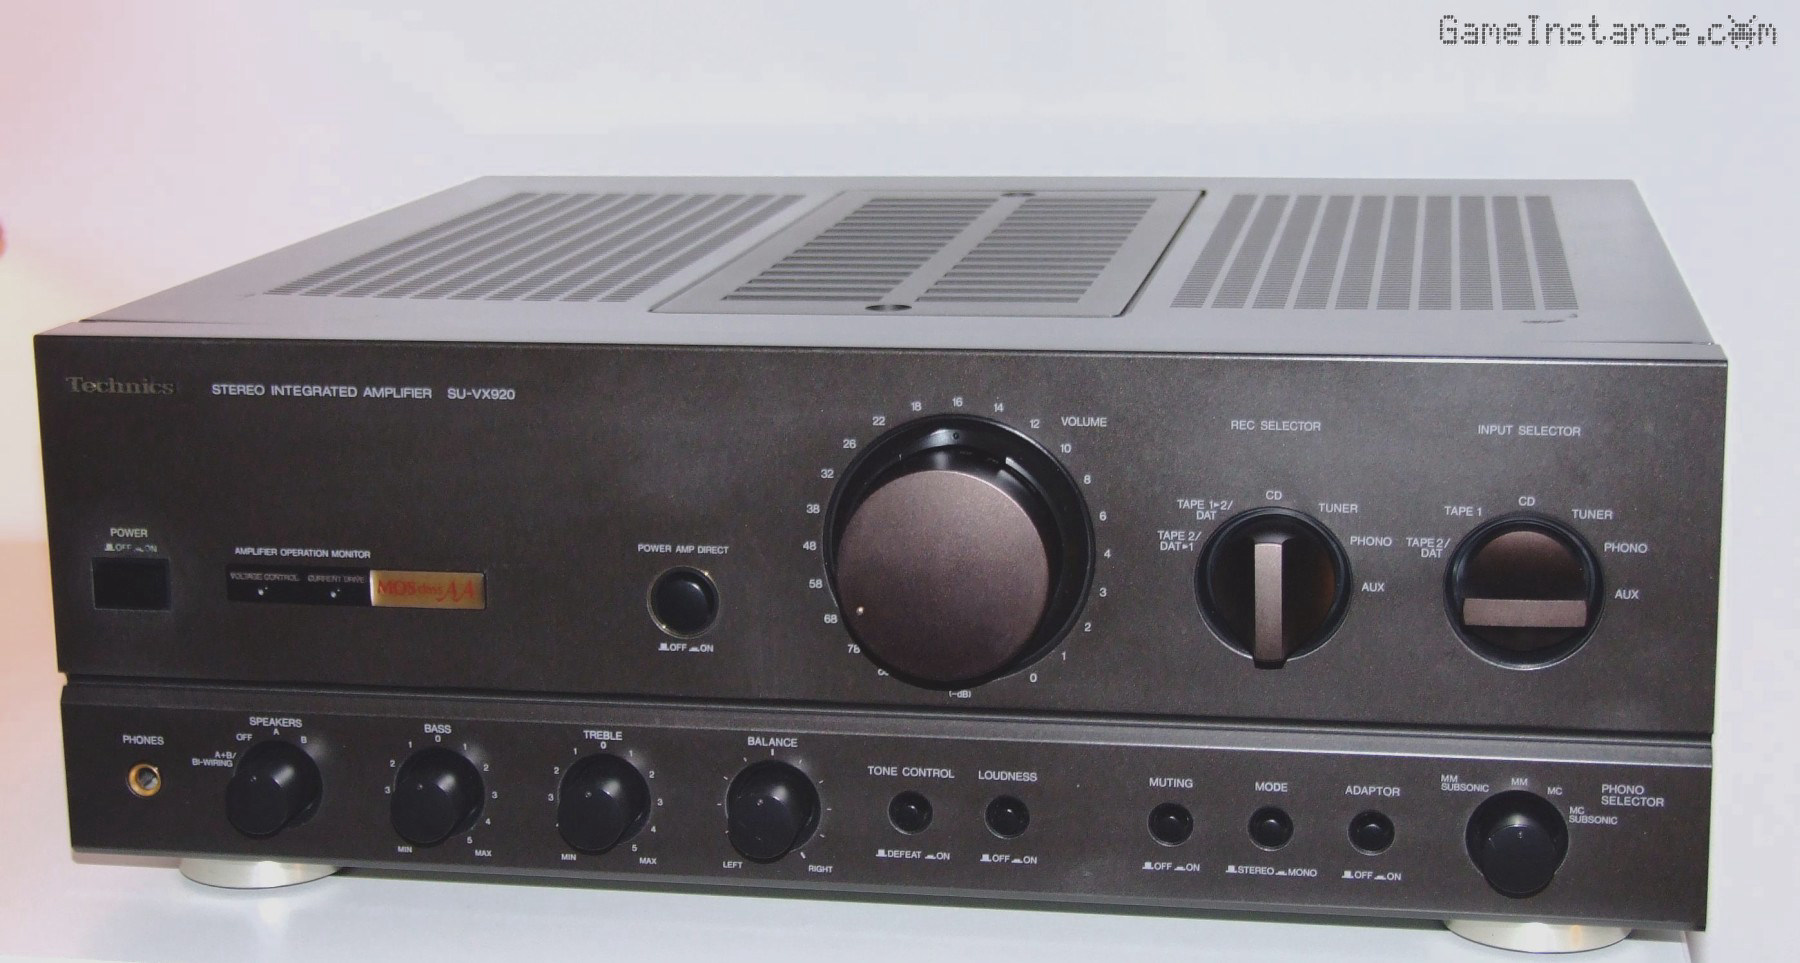 Technics SU-VX920 - mild abrasions around the power button but overall in good cosmetic state
The first thing that surprised me was the weight. Carefully pulling it out of its box was a back-painful effort. It's easy to underestimate unevenly distributed 17 kilos. I was impressed by its solid, yet refined build: an all metal case with tinted metal plated knobs completed with a nice golden logo, hinting what's under the hood. There's some plastic too, for contrast, but mostly on buttons not frequently used. I like the vertical separation between the main controls and the settings/adjustments. Another favorite is the output connector. It's funny, Technics engineers needed over a decade to realize that screw-based output connectors are considerably more robust that the plug-and-twist ones. I'm glad they did eventually.
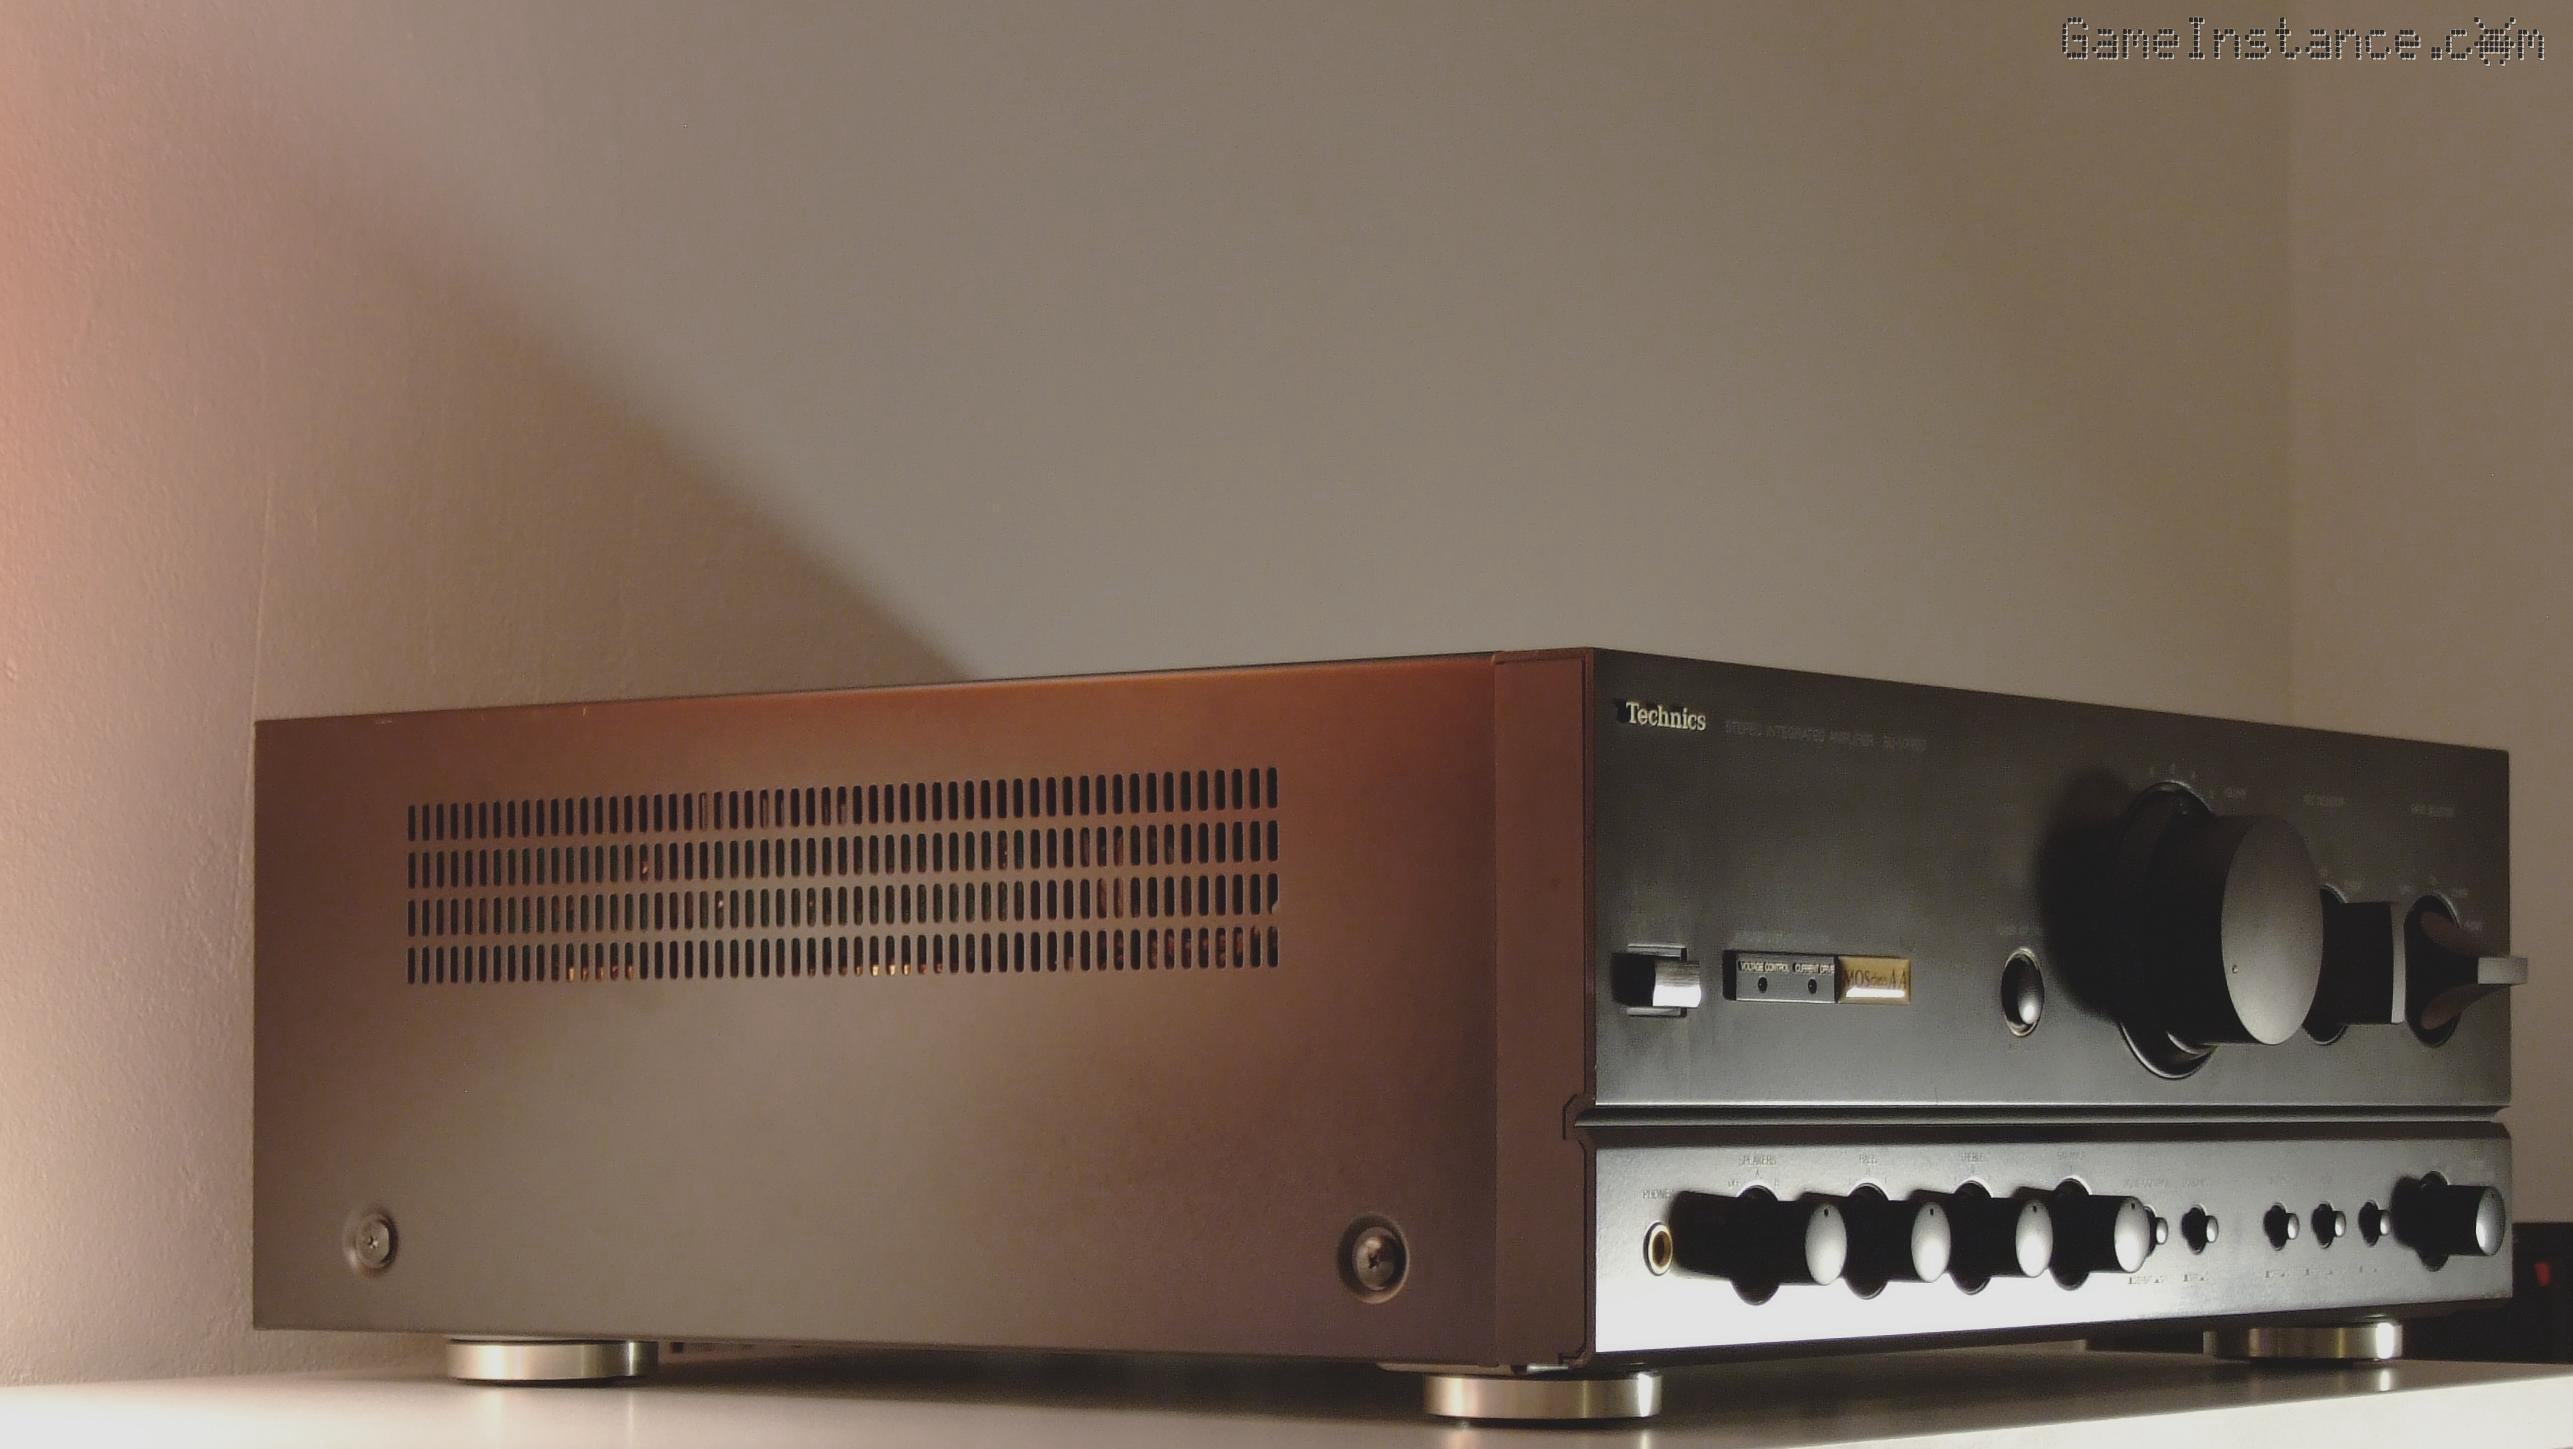 Technics SU-VX920 - what a beaut!
Being defective, I didn't plug it to the mains. I never do on dodgy units for the obvious safety reasons. Moreover, this amp has enough power reserve to cause severe damage to me, my house or itself. Instead, I took the lid off to get a better look at it.
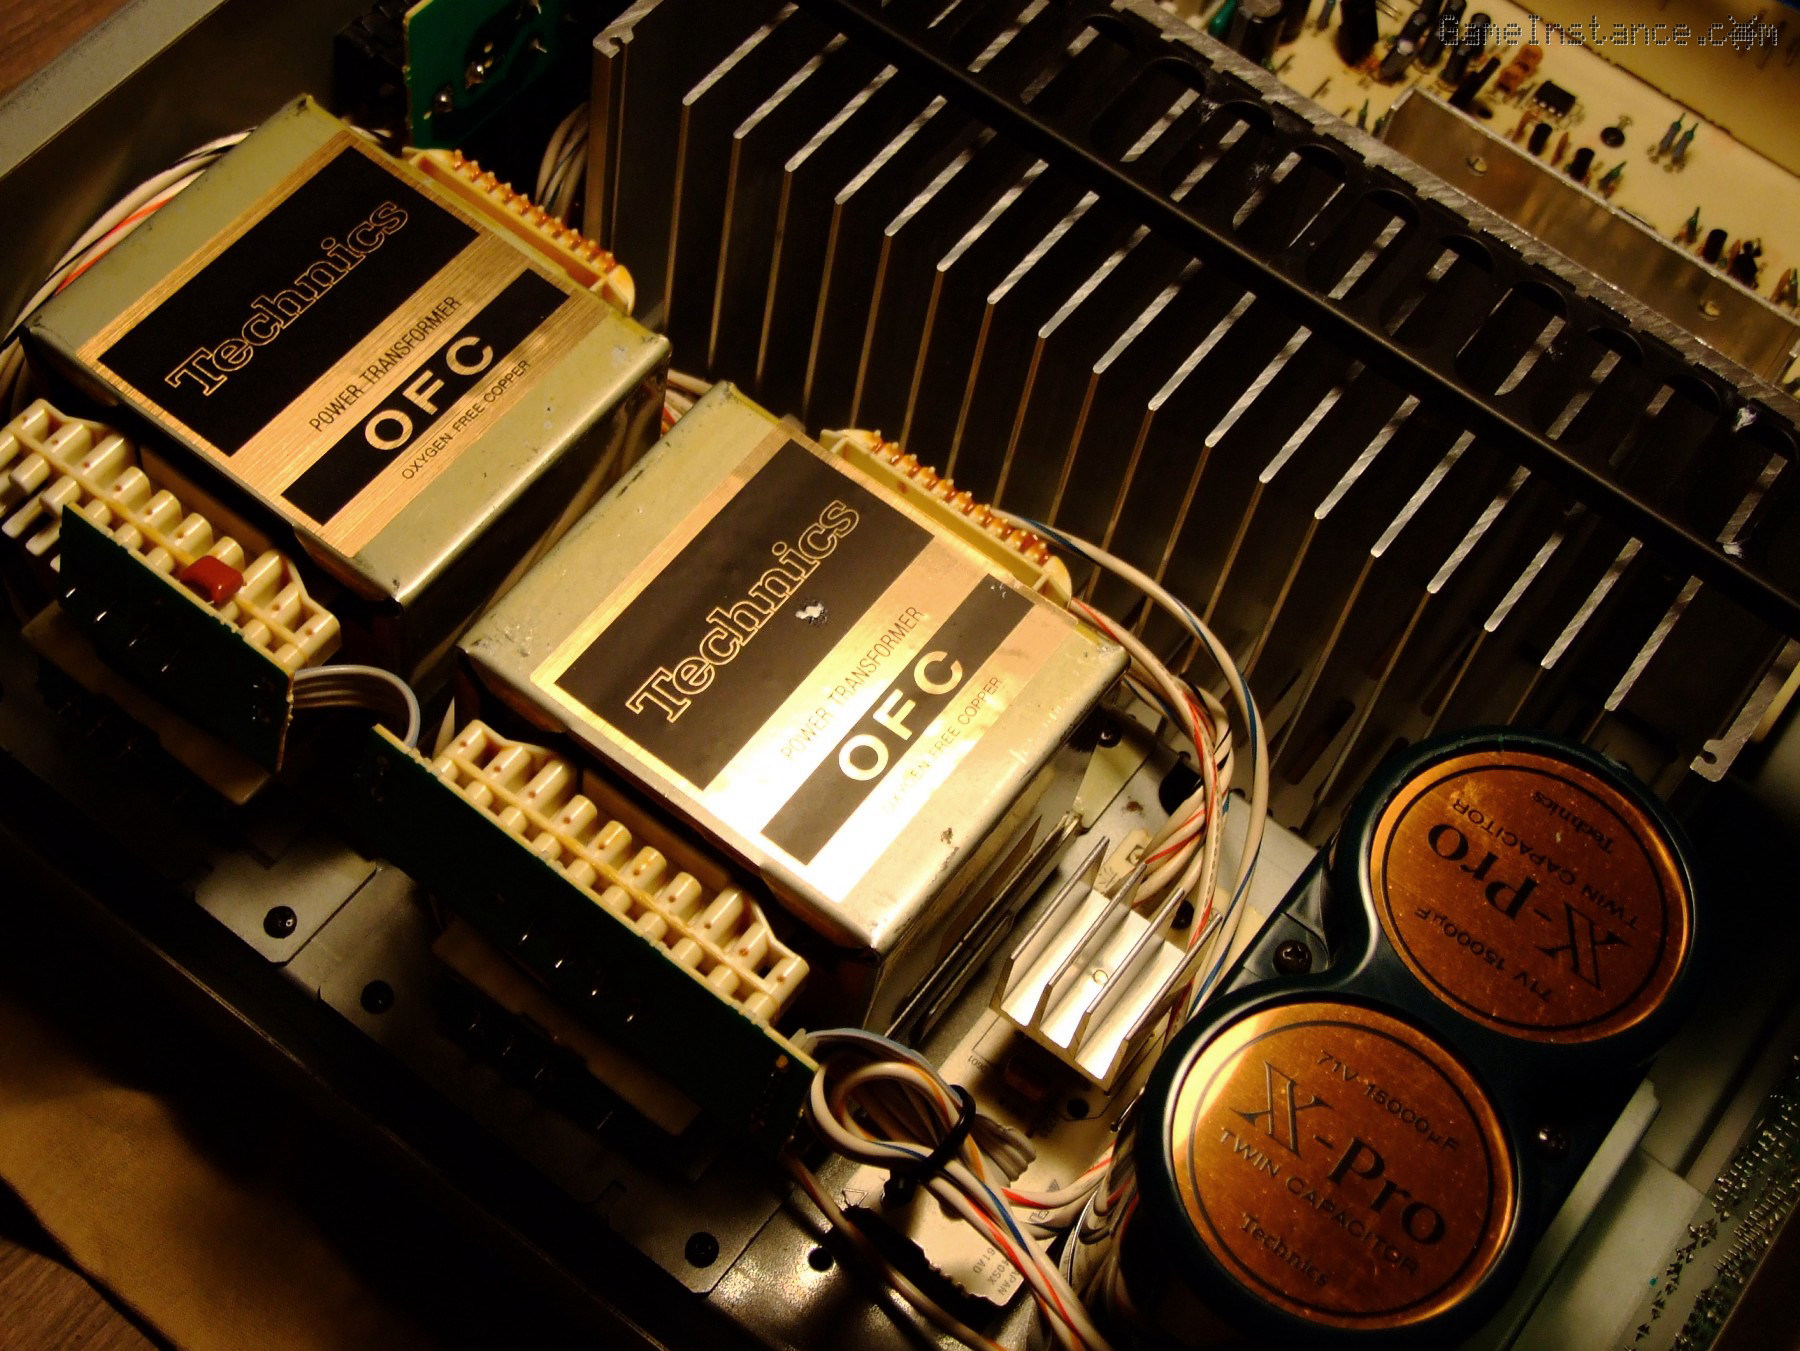 Technics SU-VX920 - two beefy transformers, one for each rail
Don't be fooled by the two transformers or the subliminal "twin" marking on the capacitors cover! This is not a twin-mono amplifier. It looks like a SE-A50, but it's a bit of a hoax. Each transformer powers one of the DC rails. My guess is that this was a technical choice as a single transformer with similar power characteristics would have been too bulky and probably more expensive. Nevertheless, this particular setup can provide the shared rails with enough current to gloss over peak demands, rendering channel separation a non-problem. Who needs an alien-looking amp with no volume control, anyway?
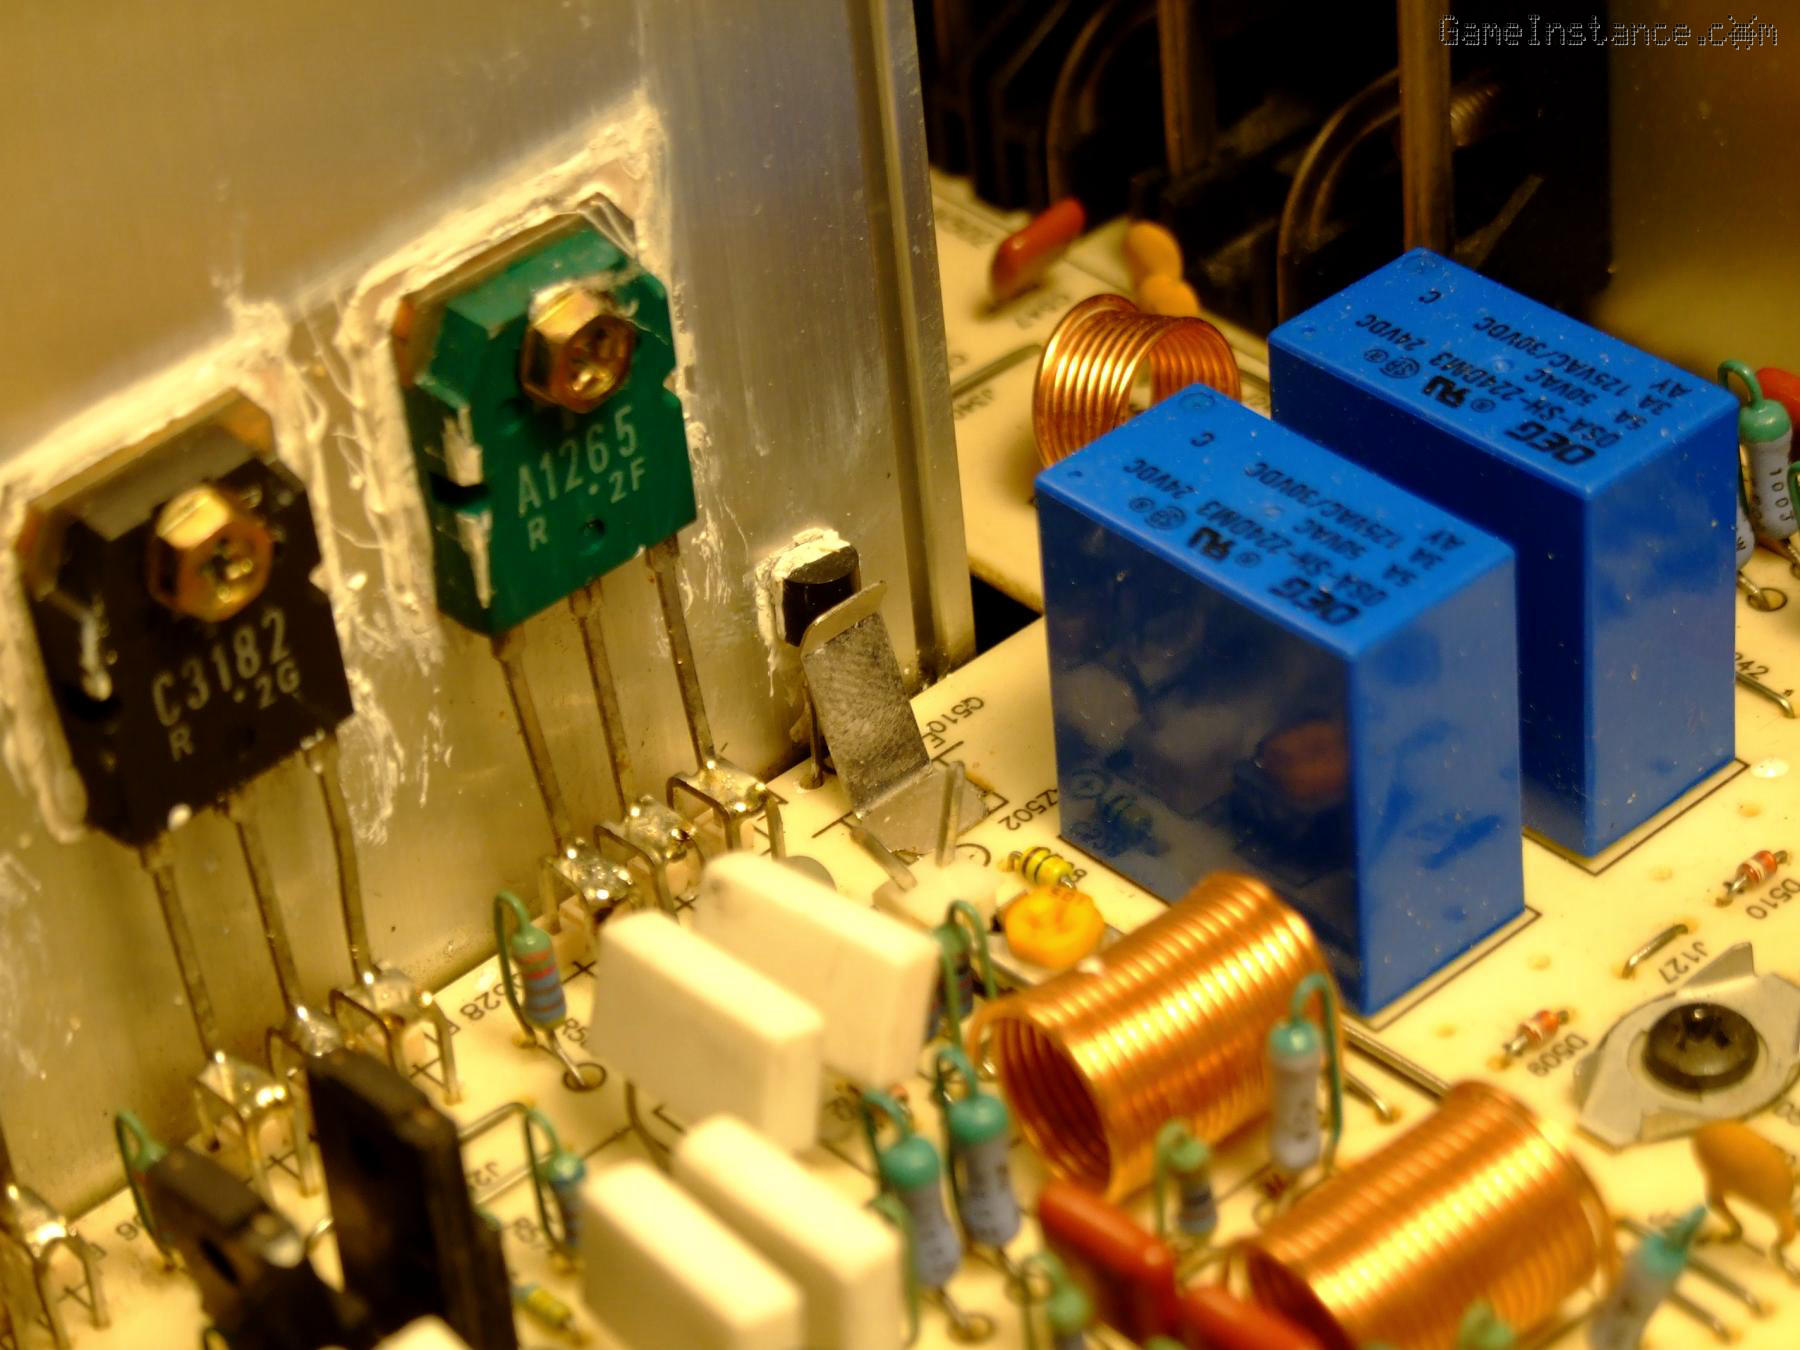 Technics SU-VX920 - signs of prior interventions: stains, finger prints, bent tests points
This unit has practically no dust inside, a telltale of previous interventions. There's smeared heat-sinking paste and stains on various parts, finger prints, bent pins - likely from poking around - pretty much everywhere. This is not very encouraging as the most common causes were likely eliminated.
Challenge I wanted, challenge I got! This is a DC amplifier, which makes it particularly tricky to debug especially when the signal and feedback follows a complex path across multiple boards. Expecting for a handful, I took a big step back to research the design and plan for my own intervention.
Check-out the ups, downs and then the excitement surrounding the repair intervention that followed.